How to set up Bell email on my Apple iPhone
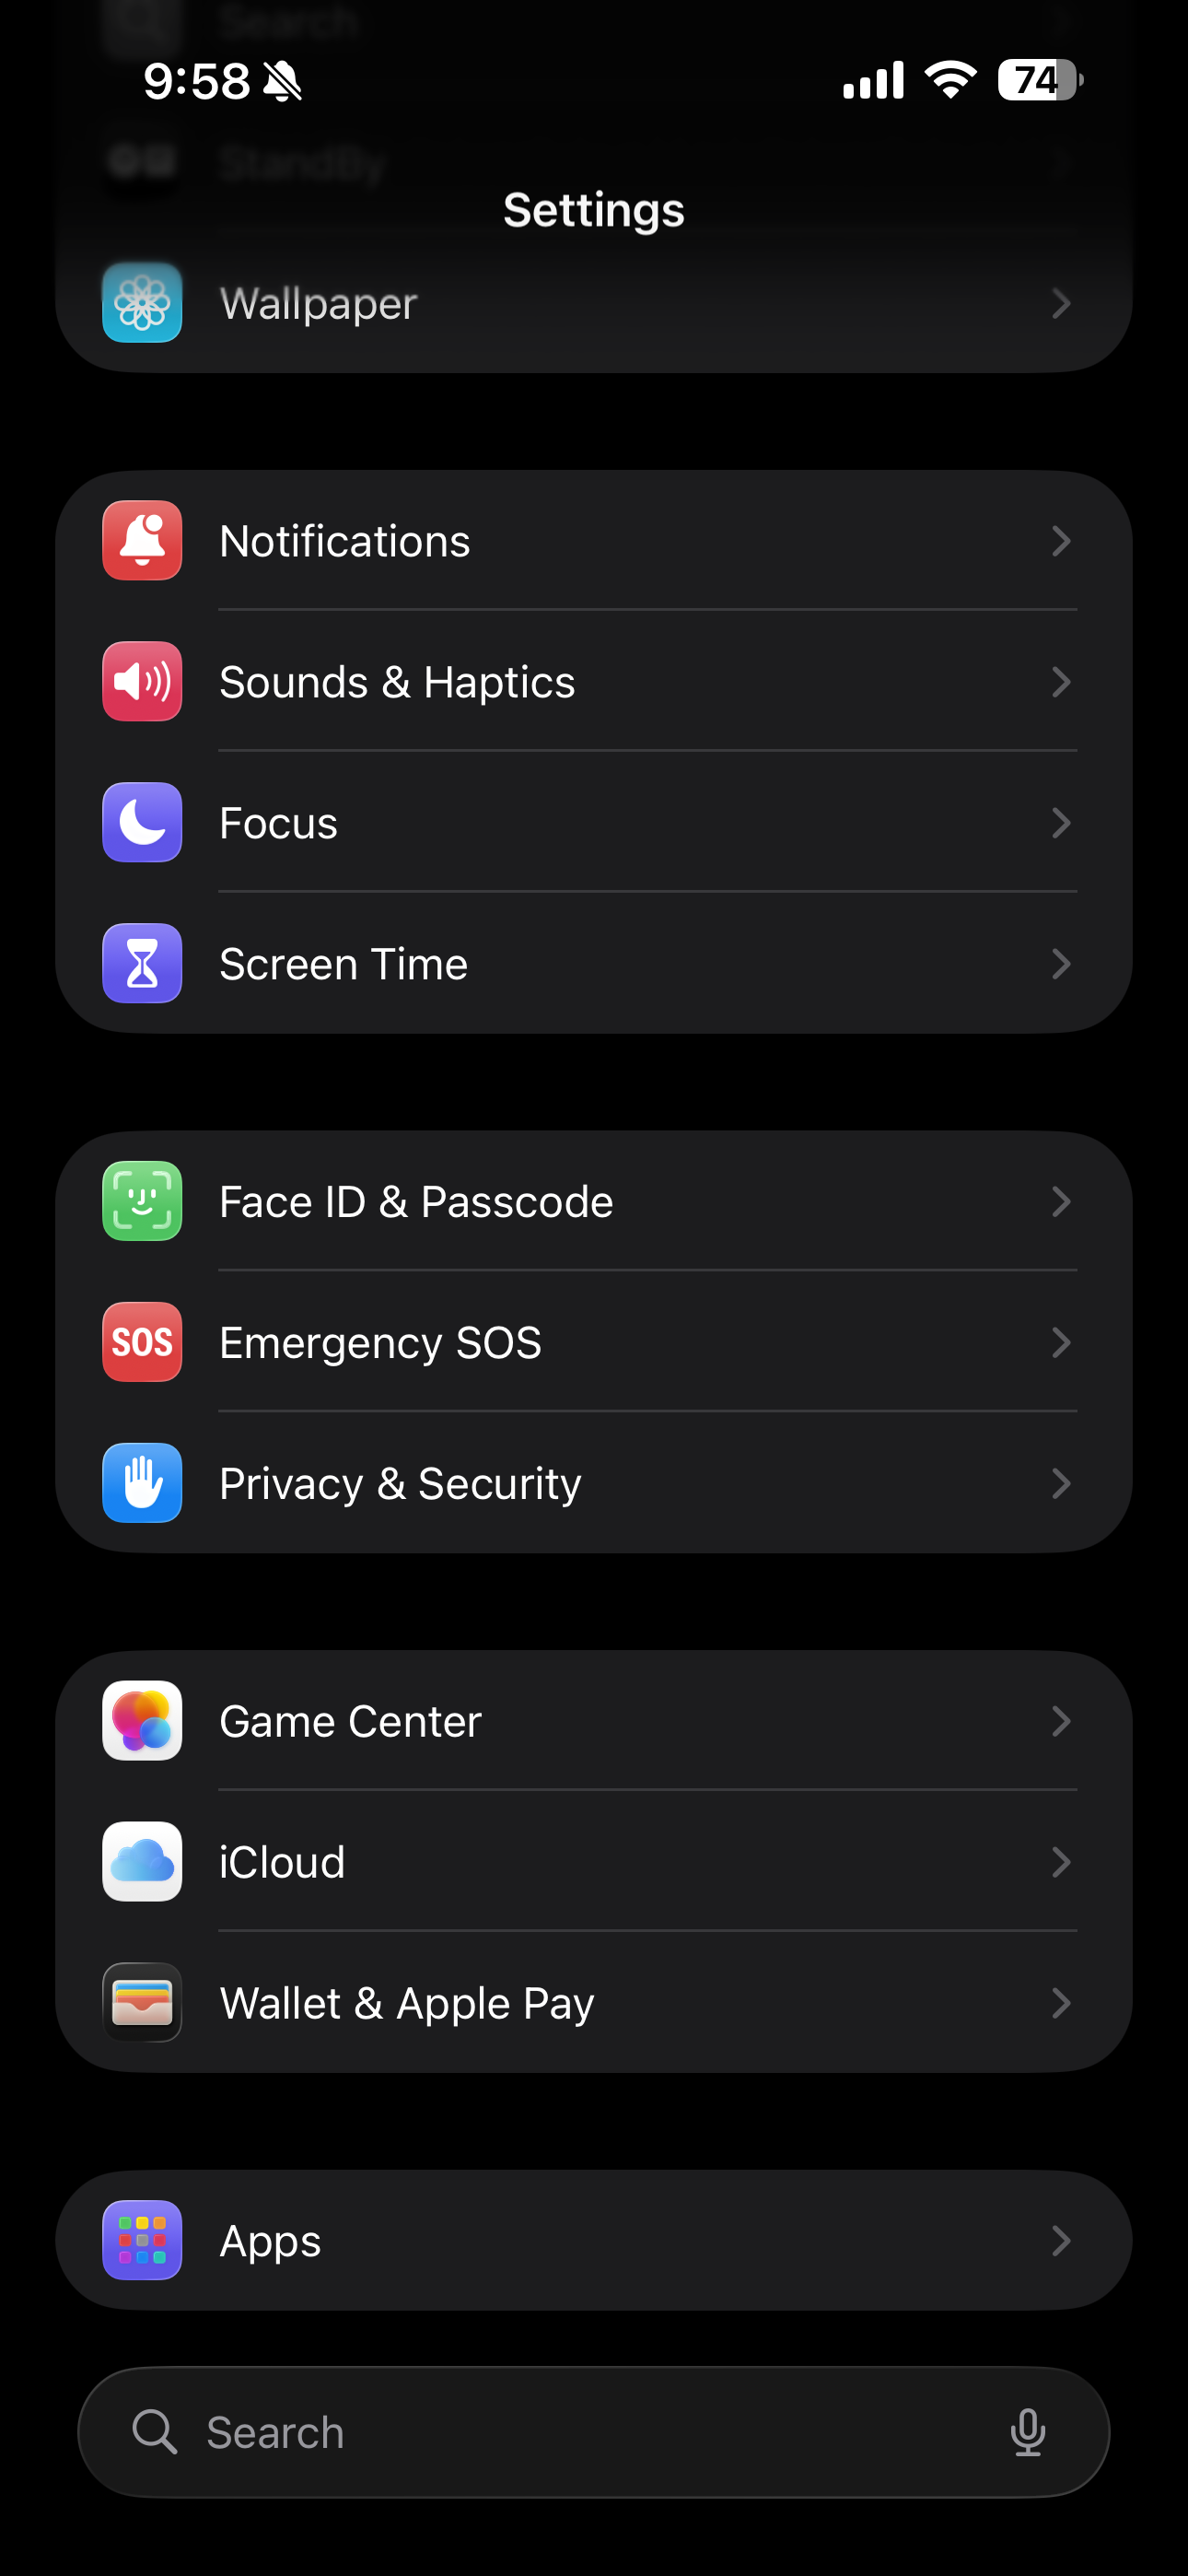
- Touch Setting.
- Scroll to and touch Apps.
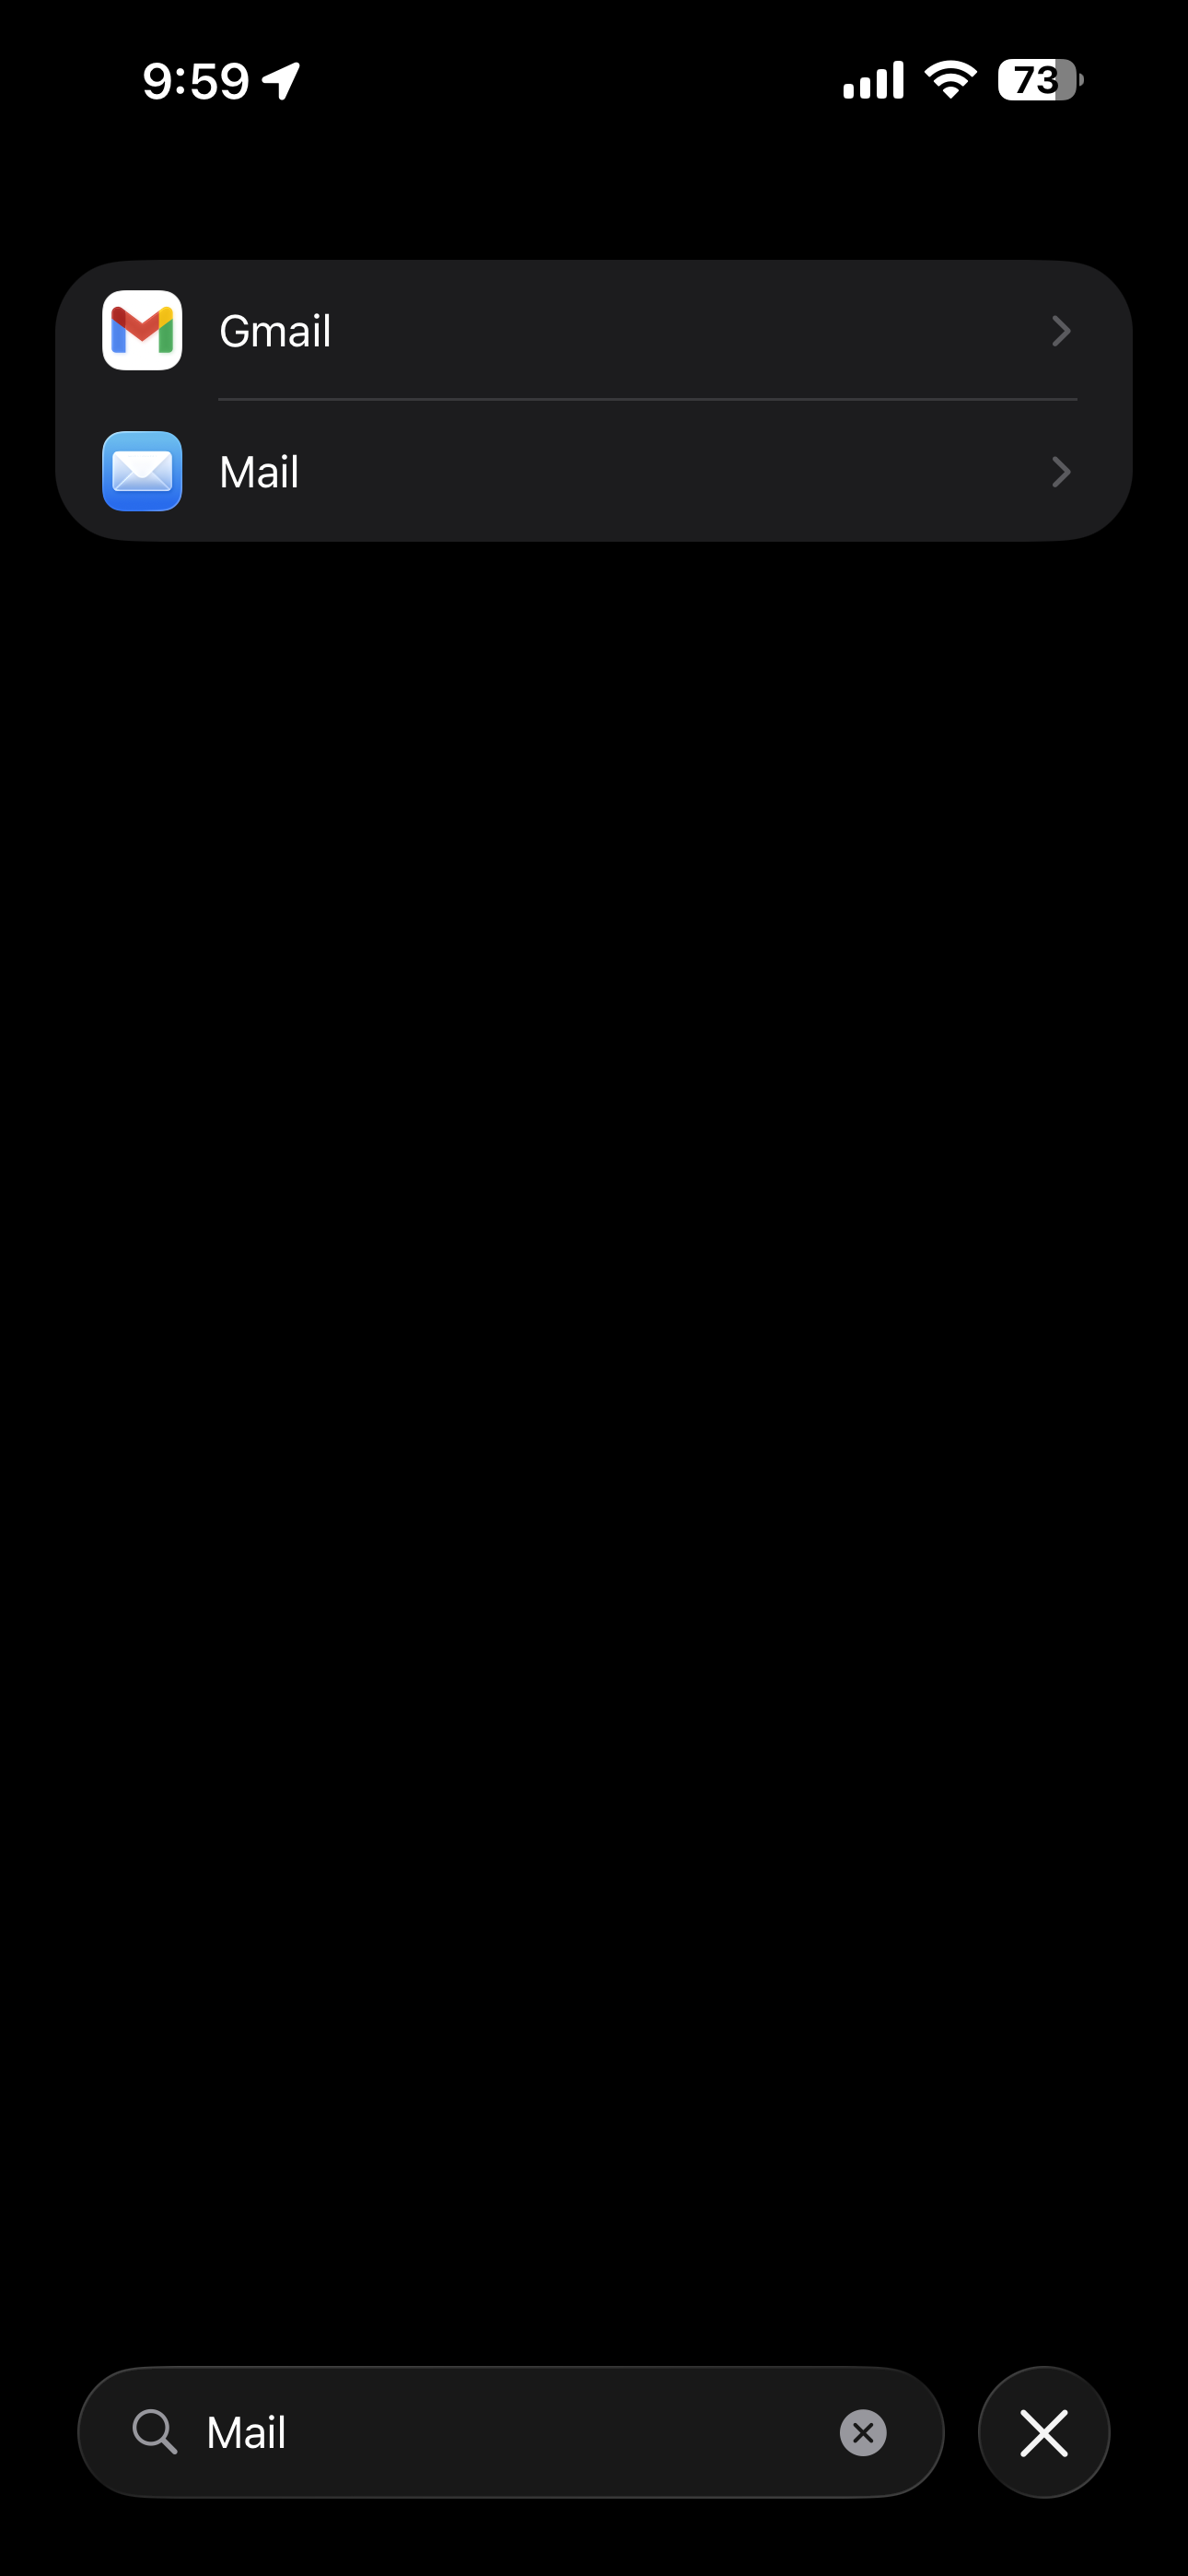
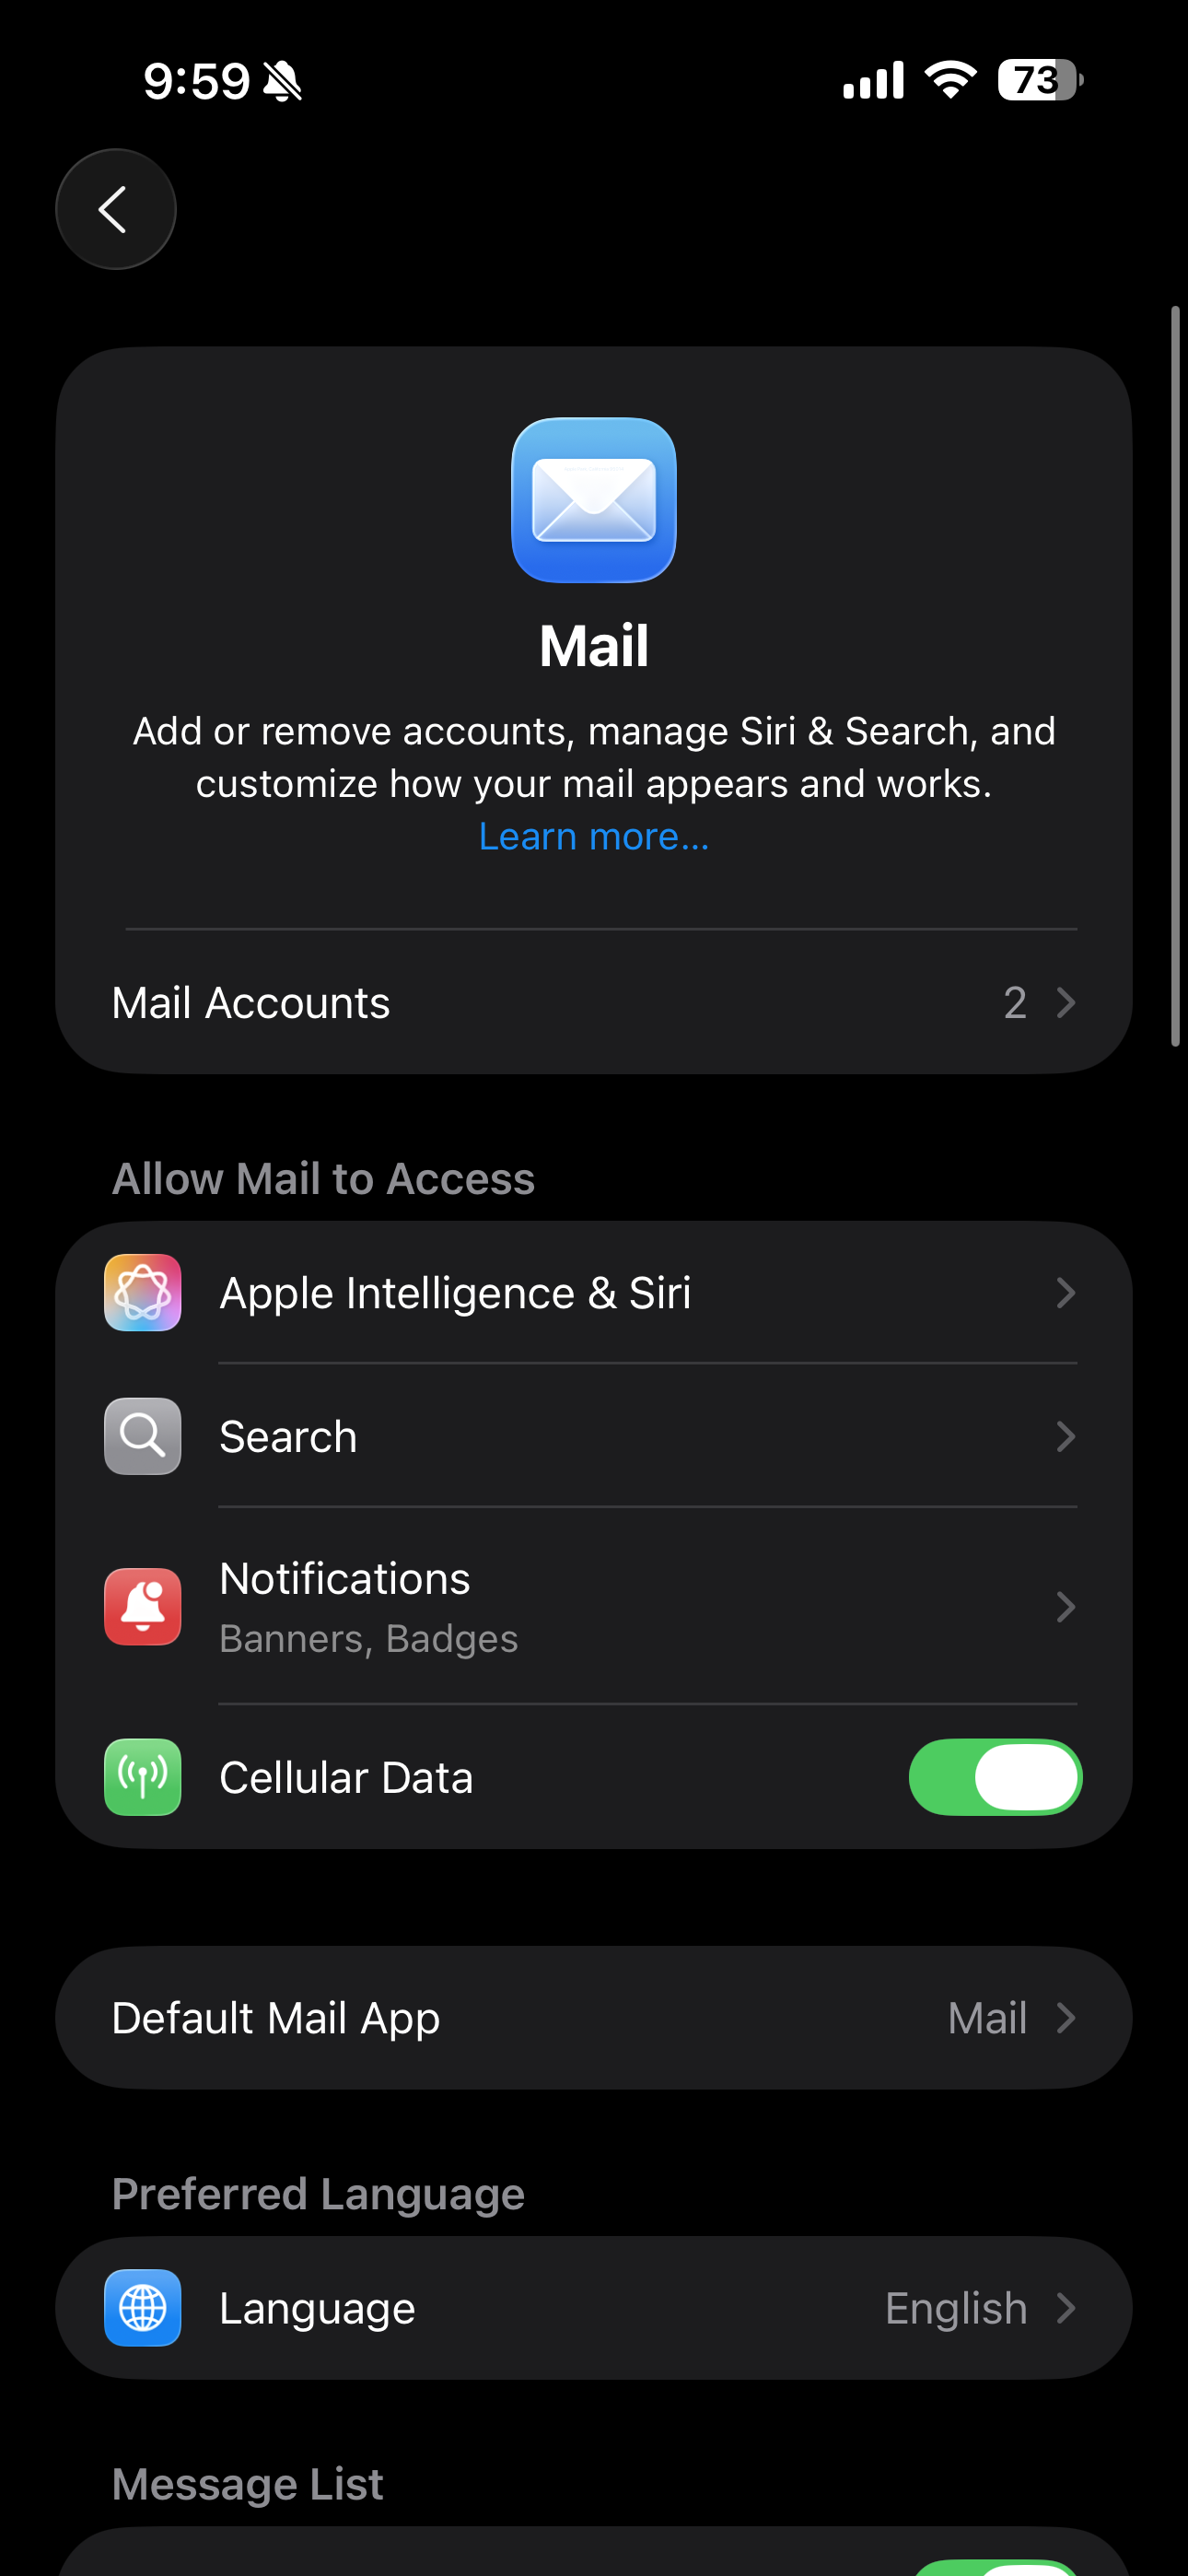
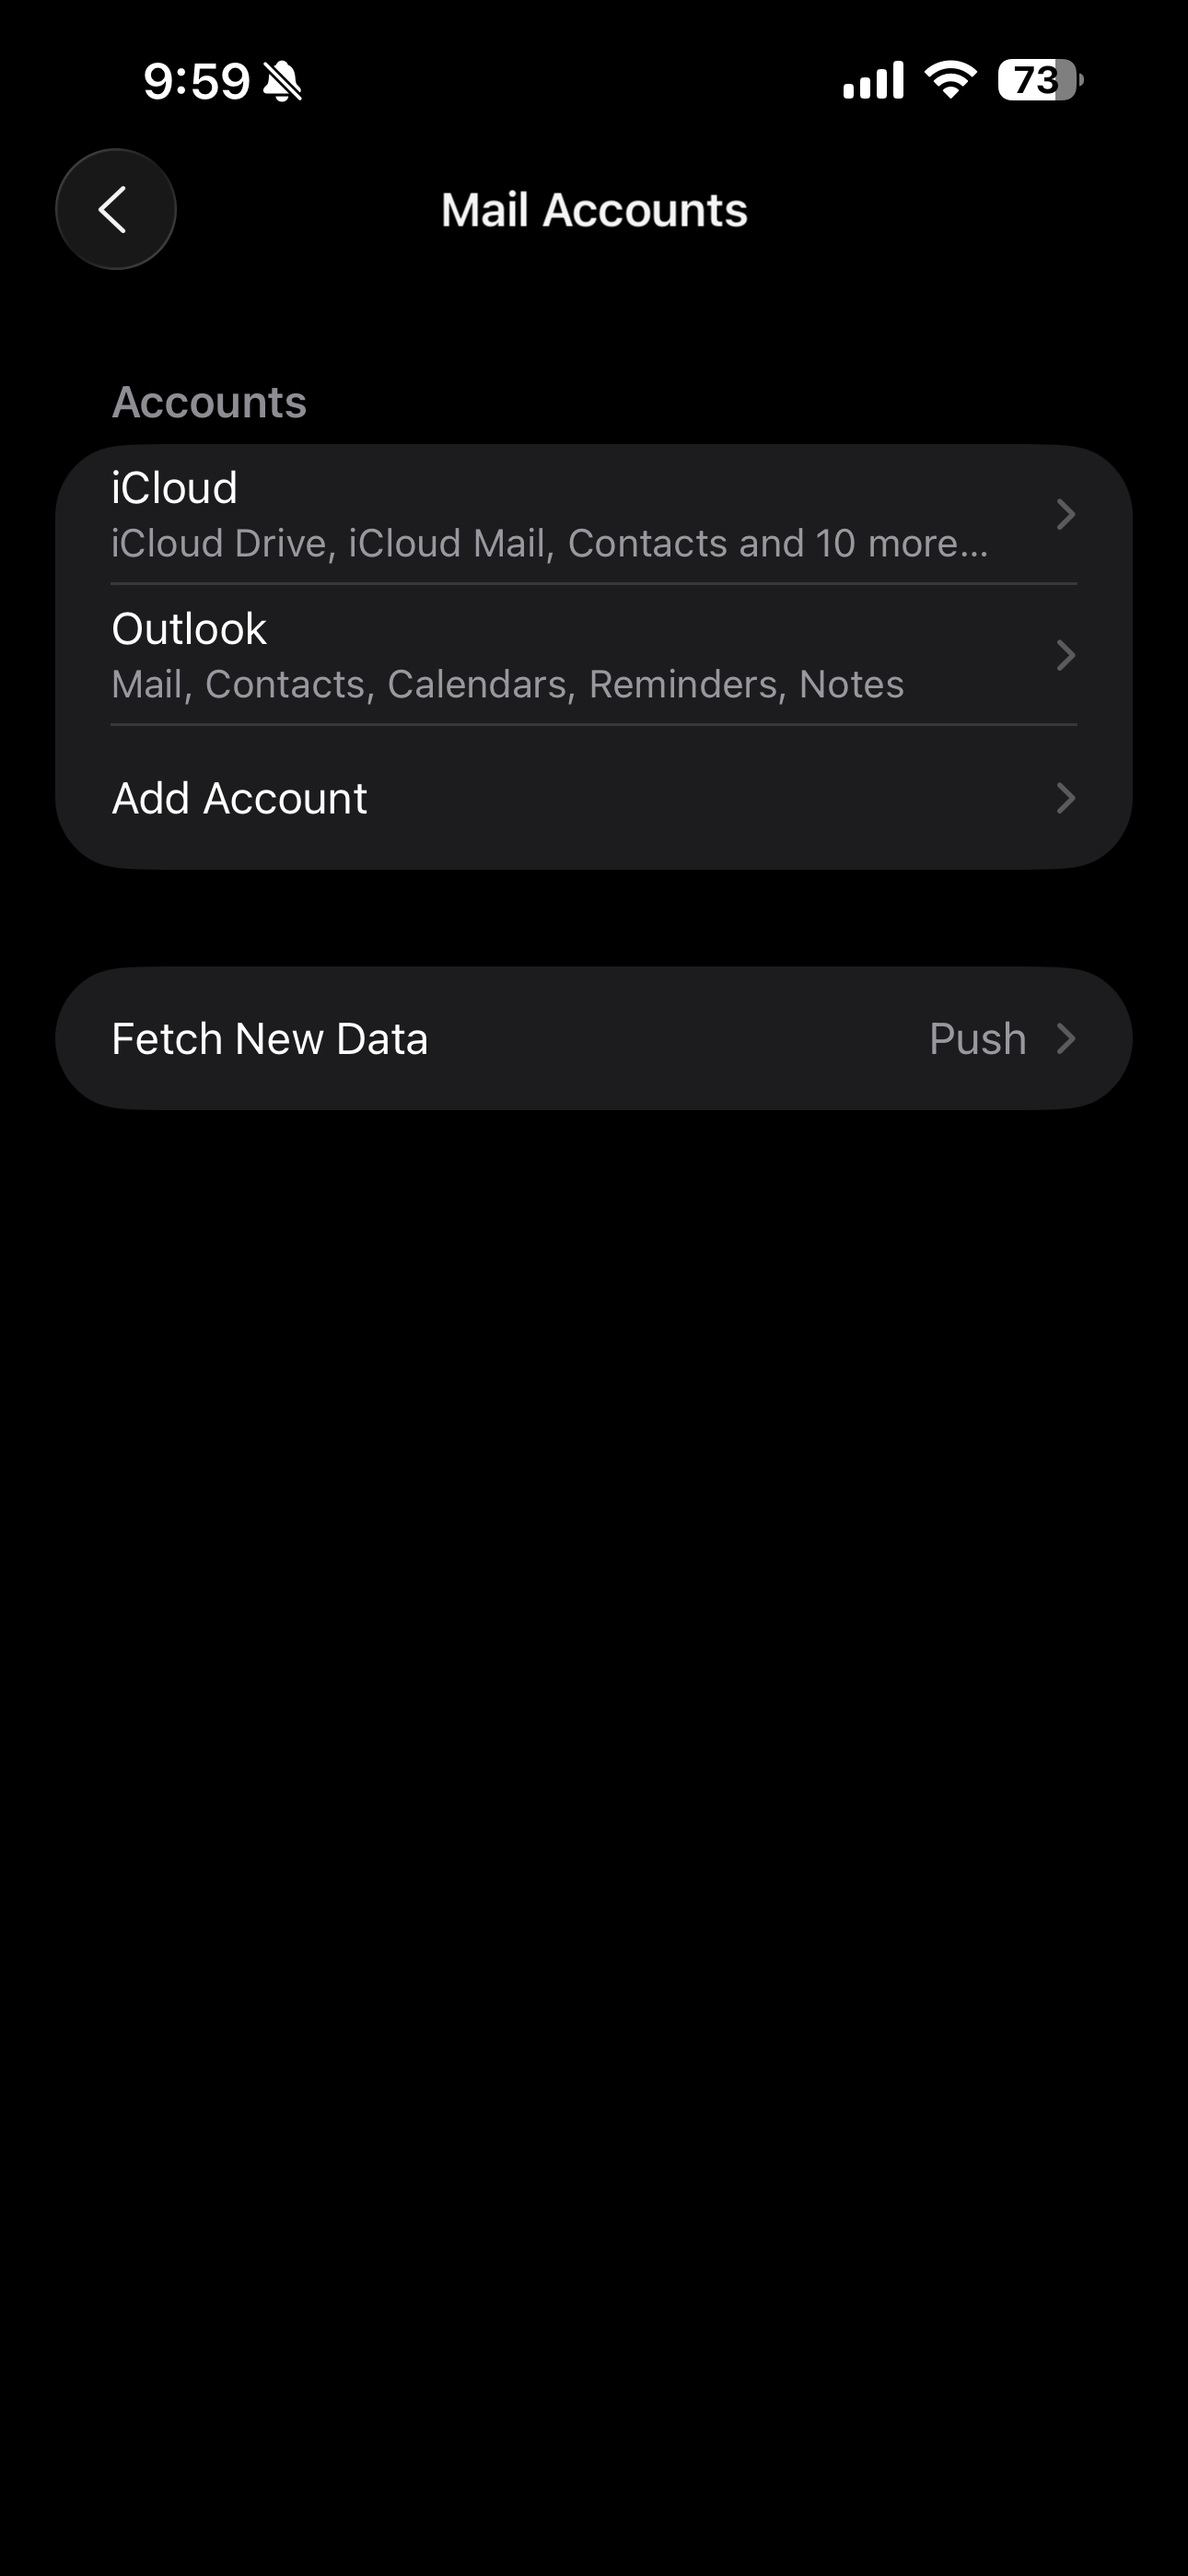
- Scroll to or search and touch Mail.
- Touch Mail Accounts.
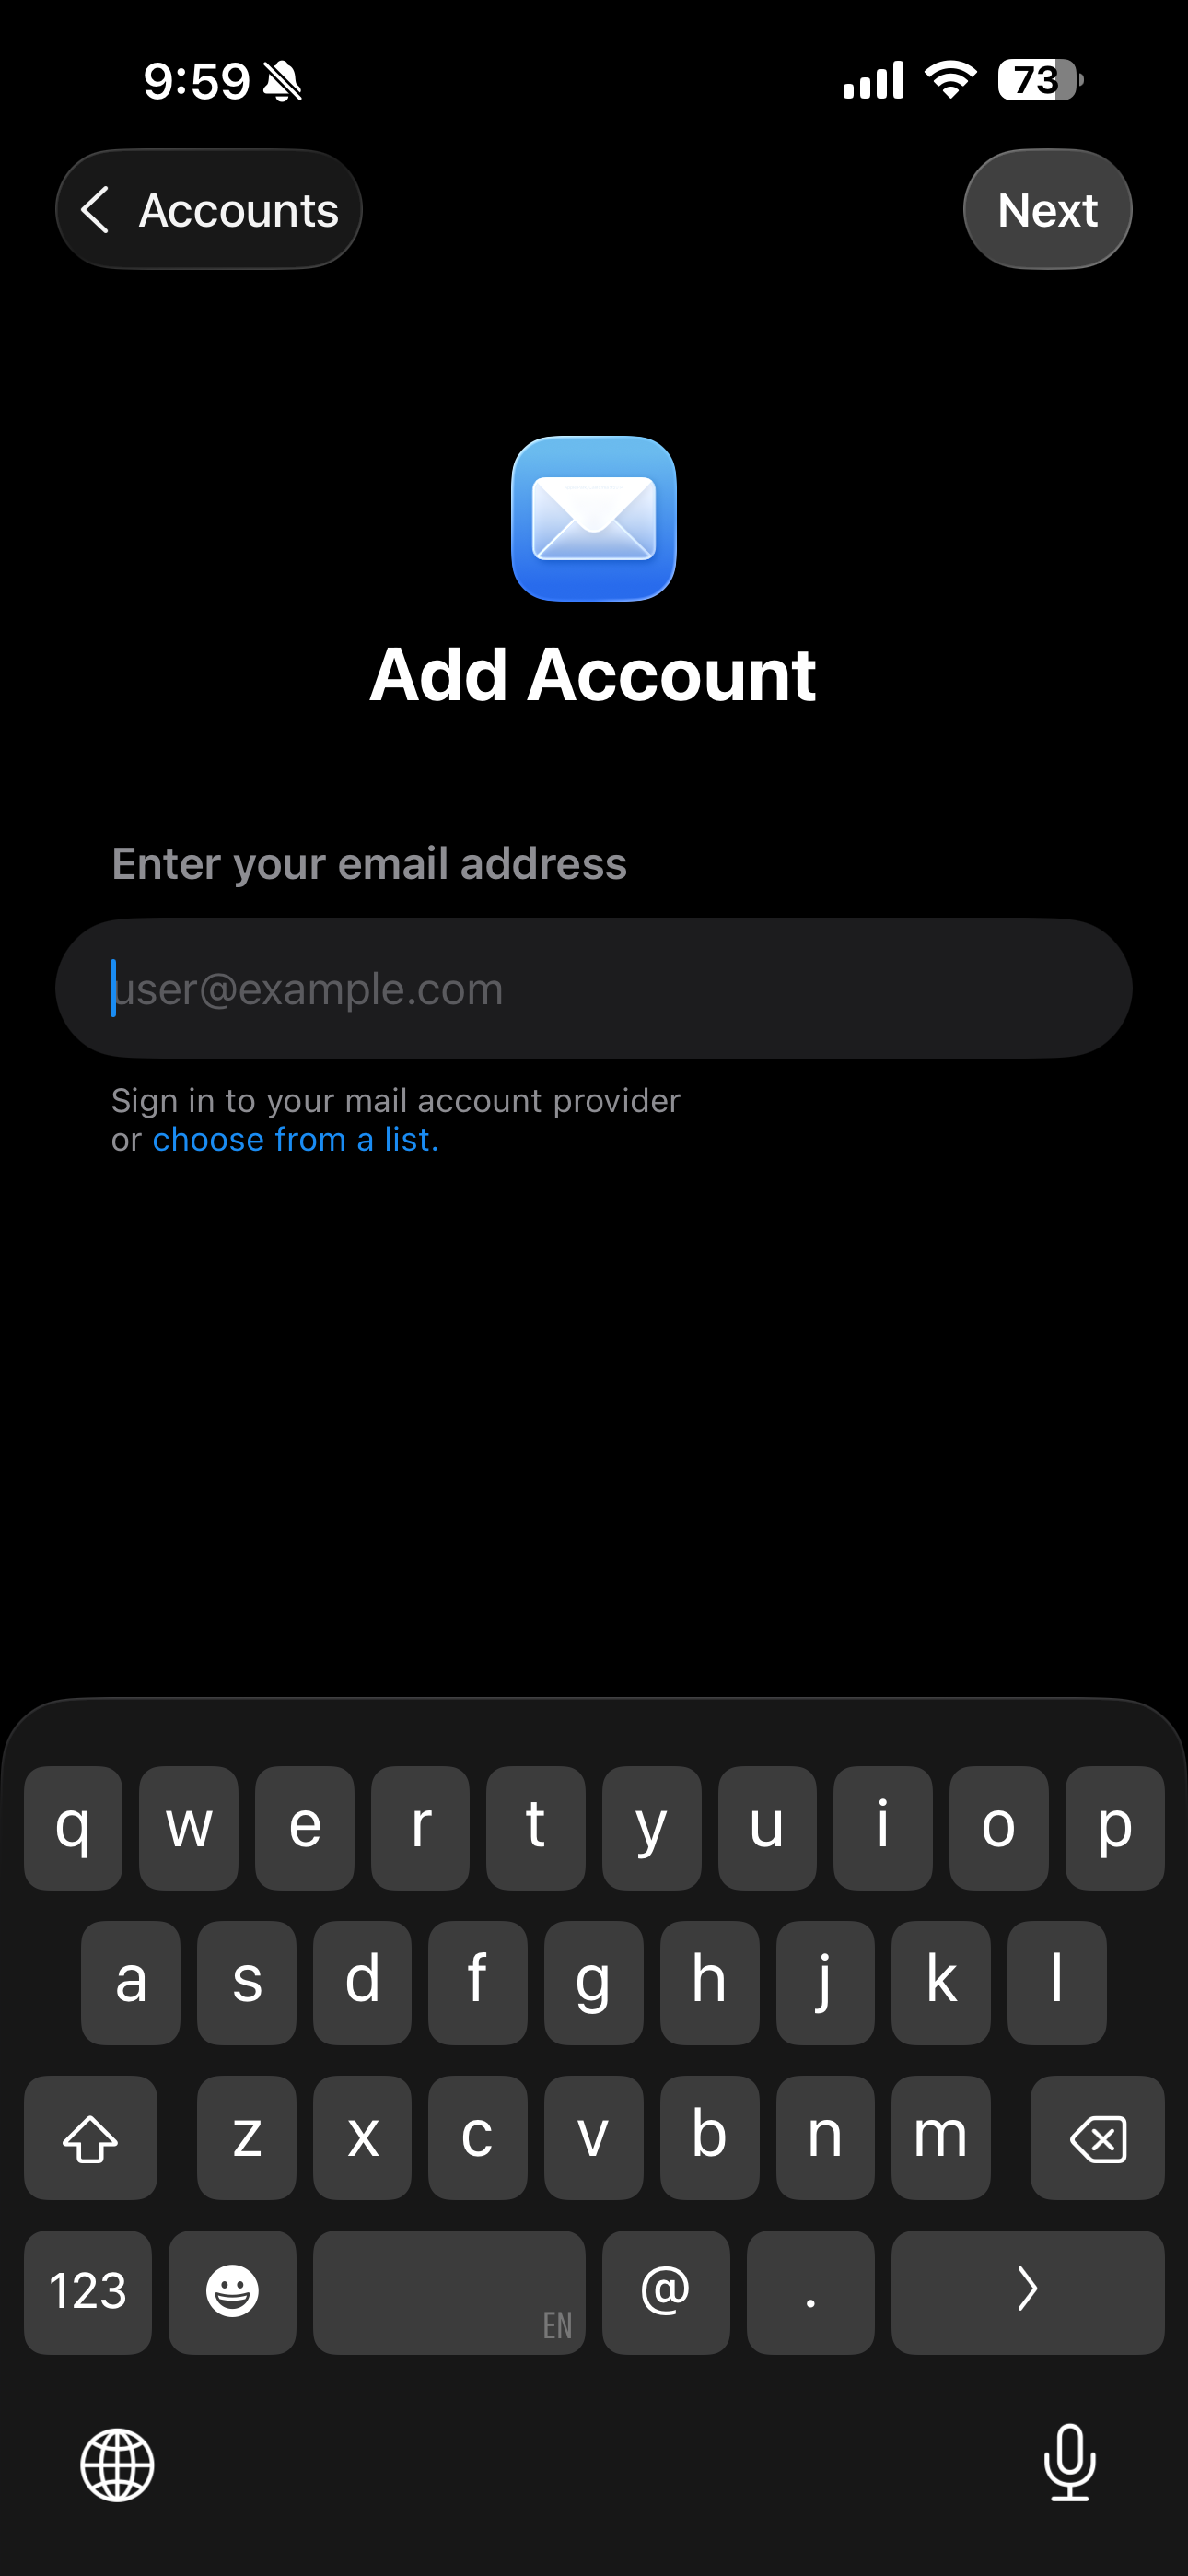
- Touch Add Account.
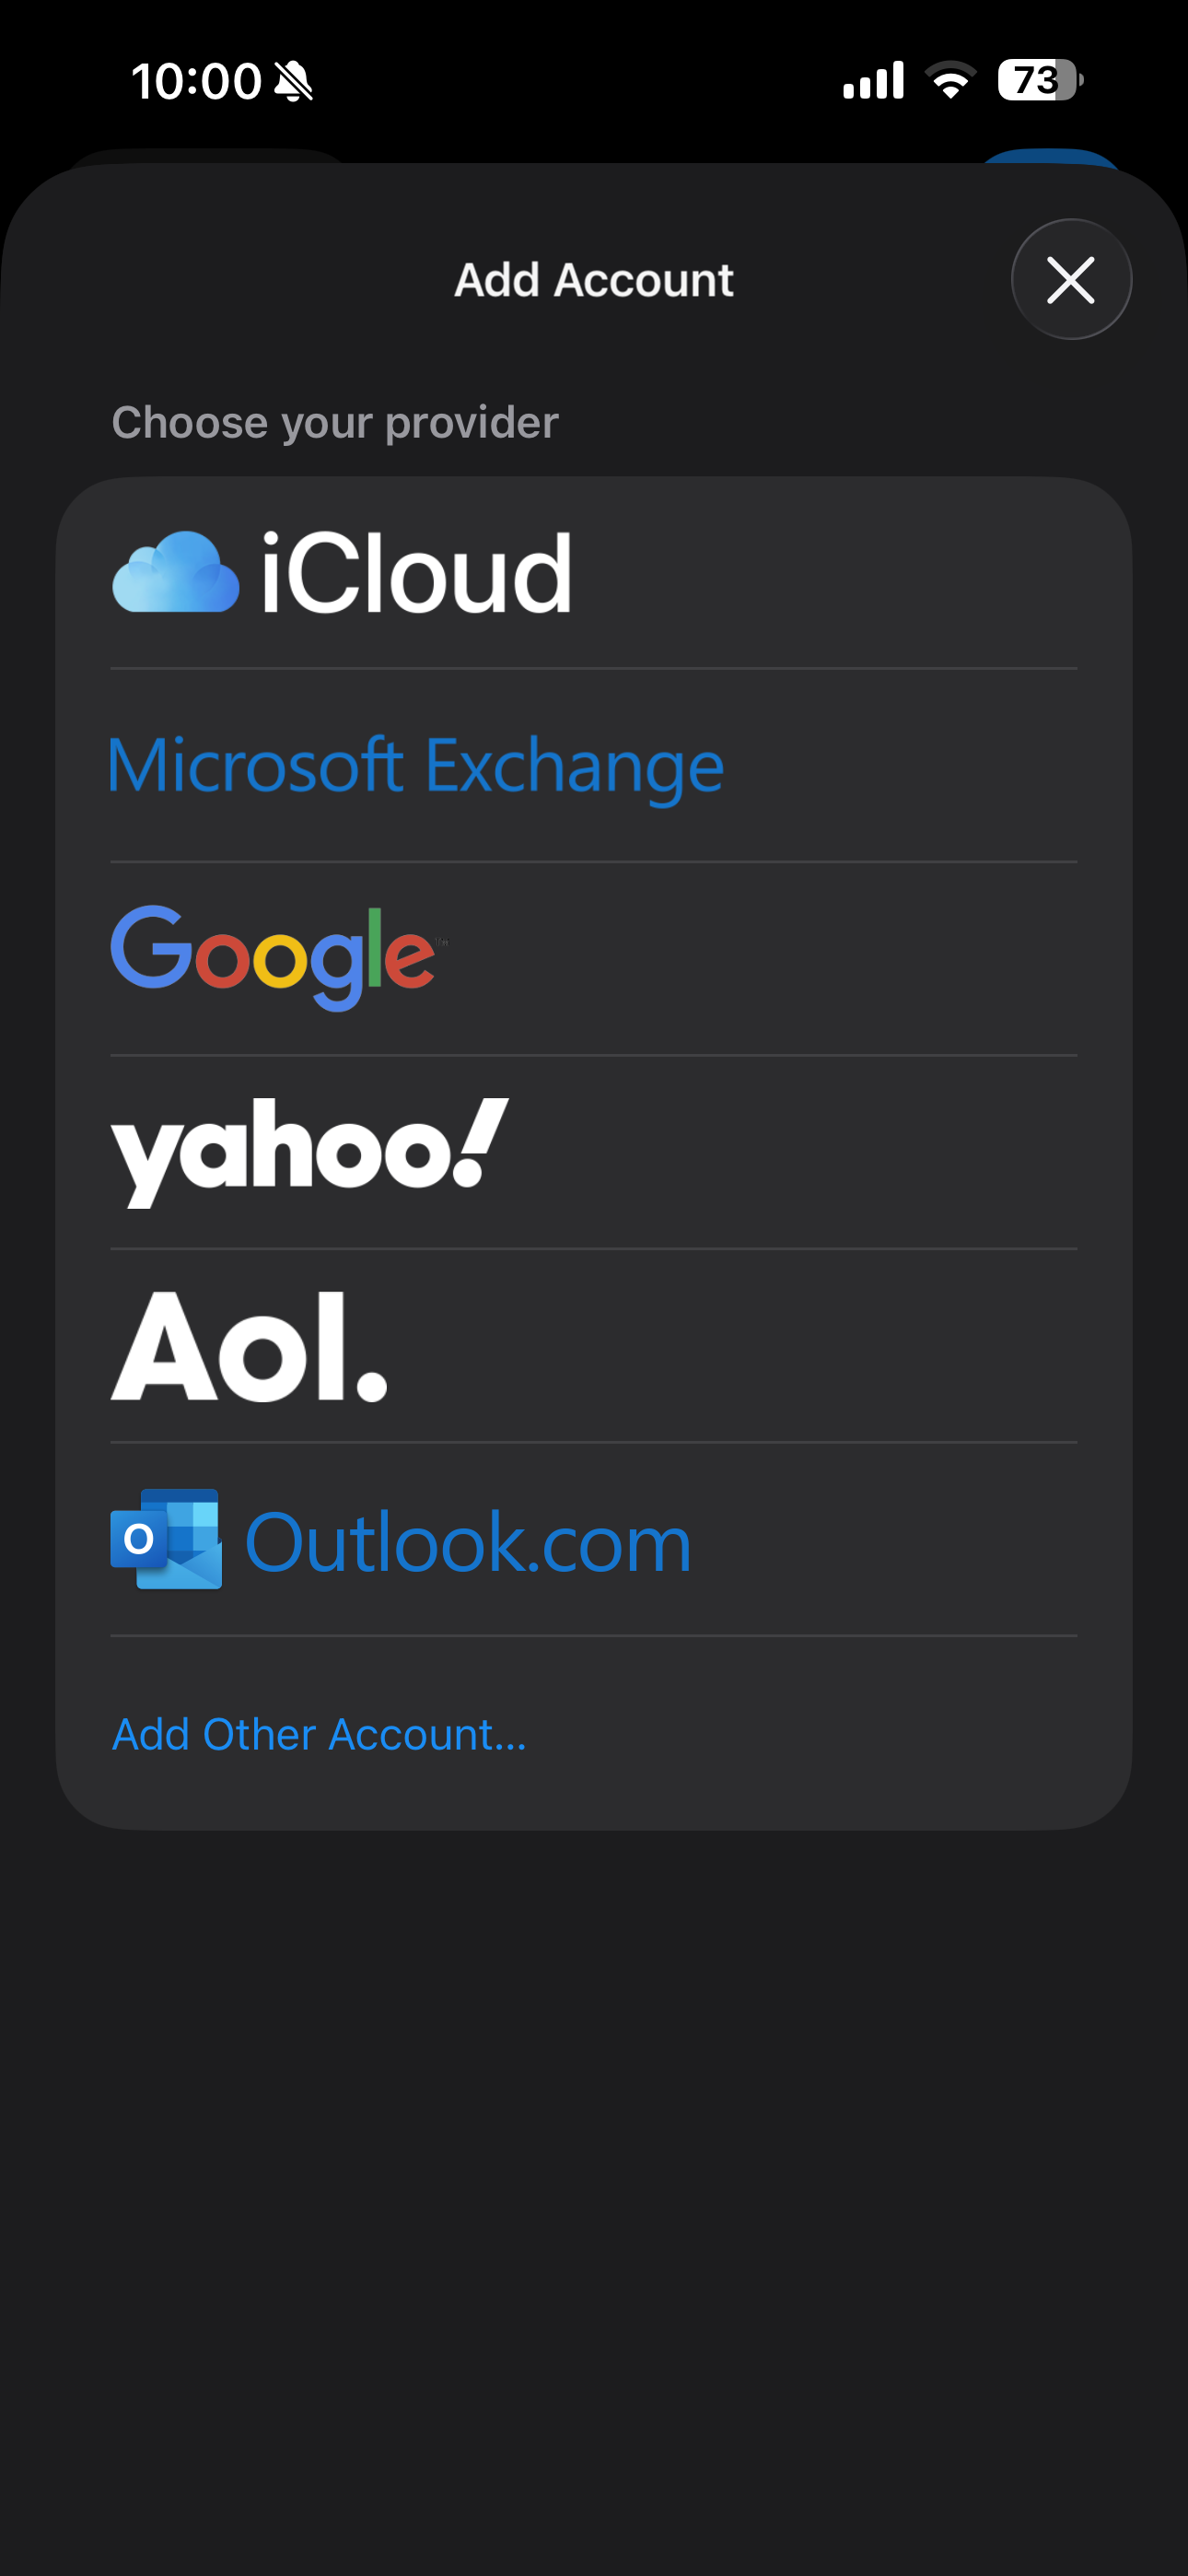
- Enter your Bell email address and press Next.
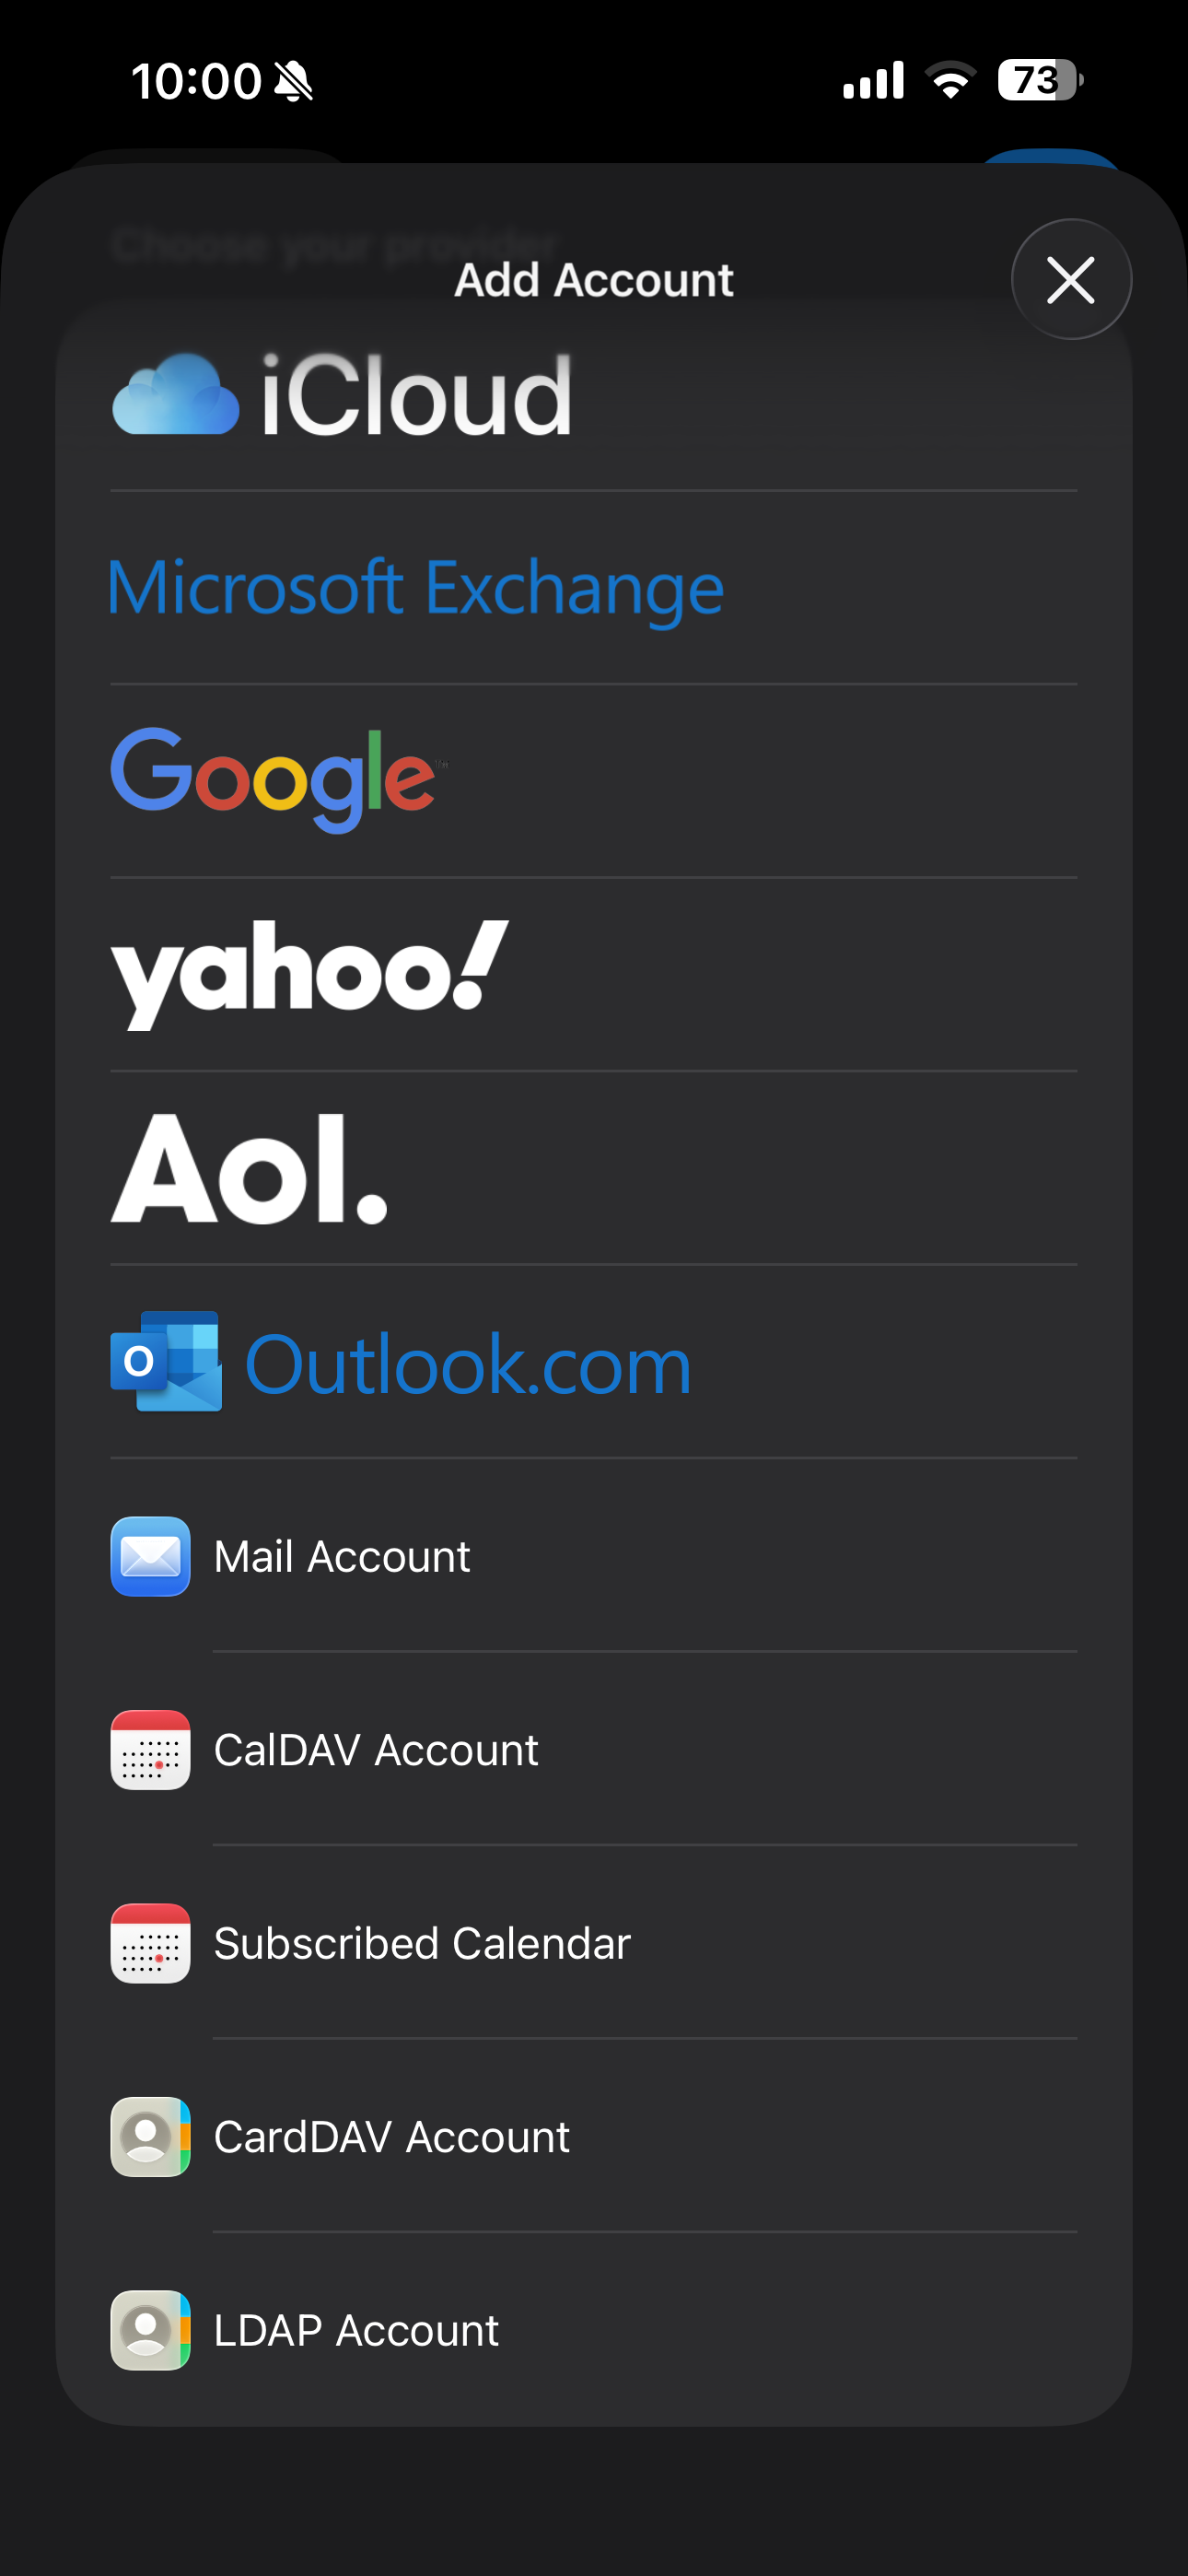
- Touch Other Account.
- Touch Mail Account.
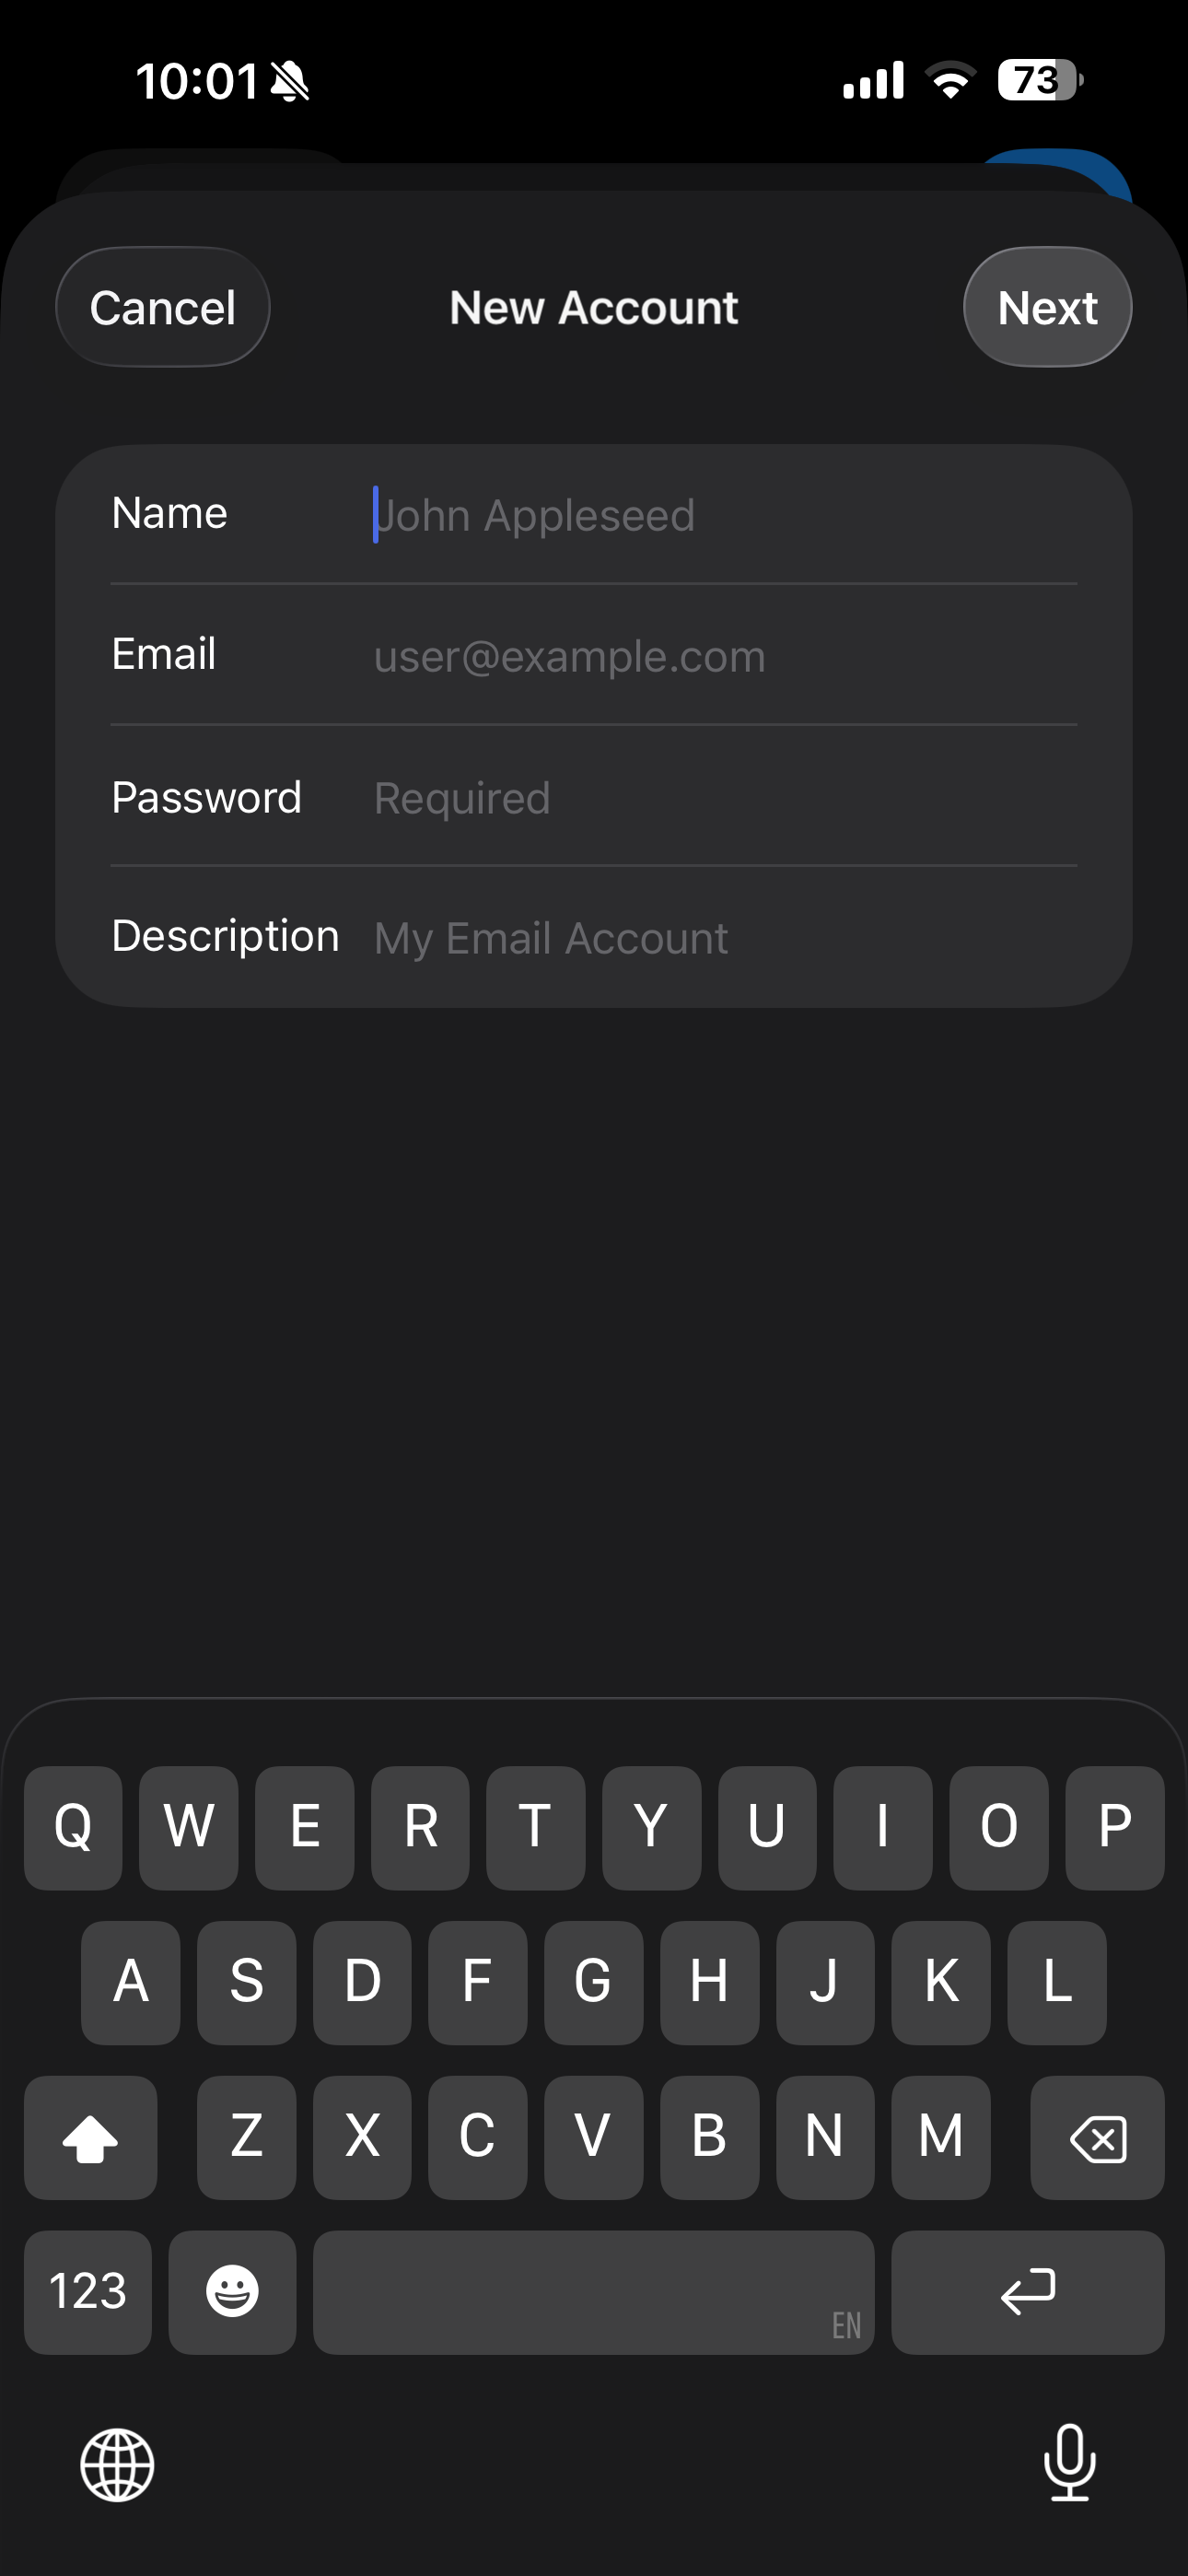
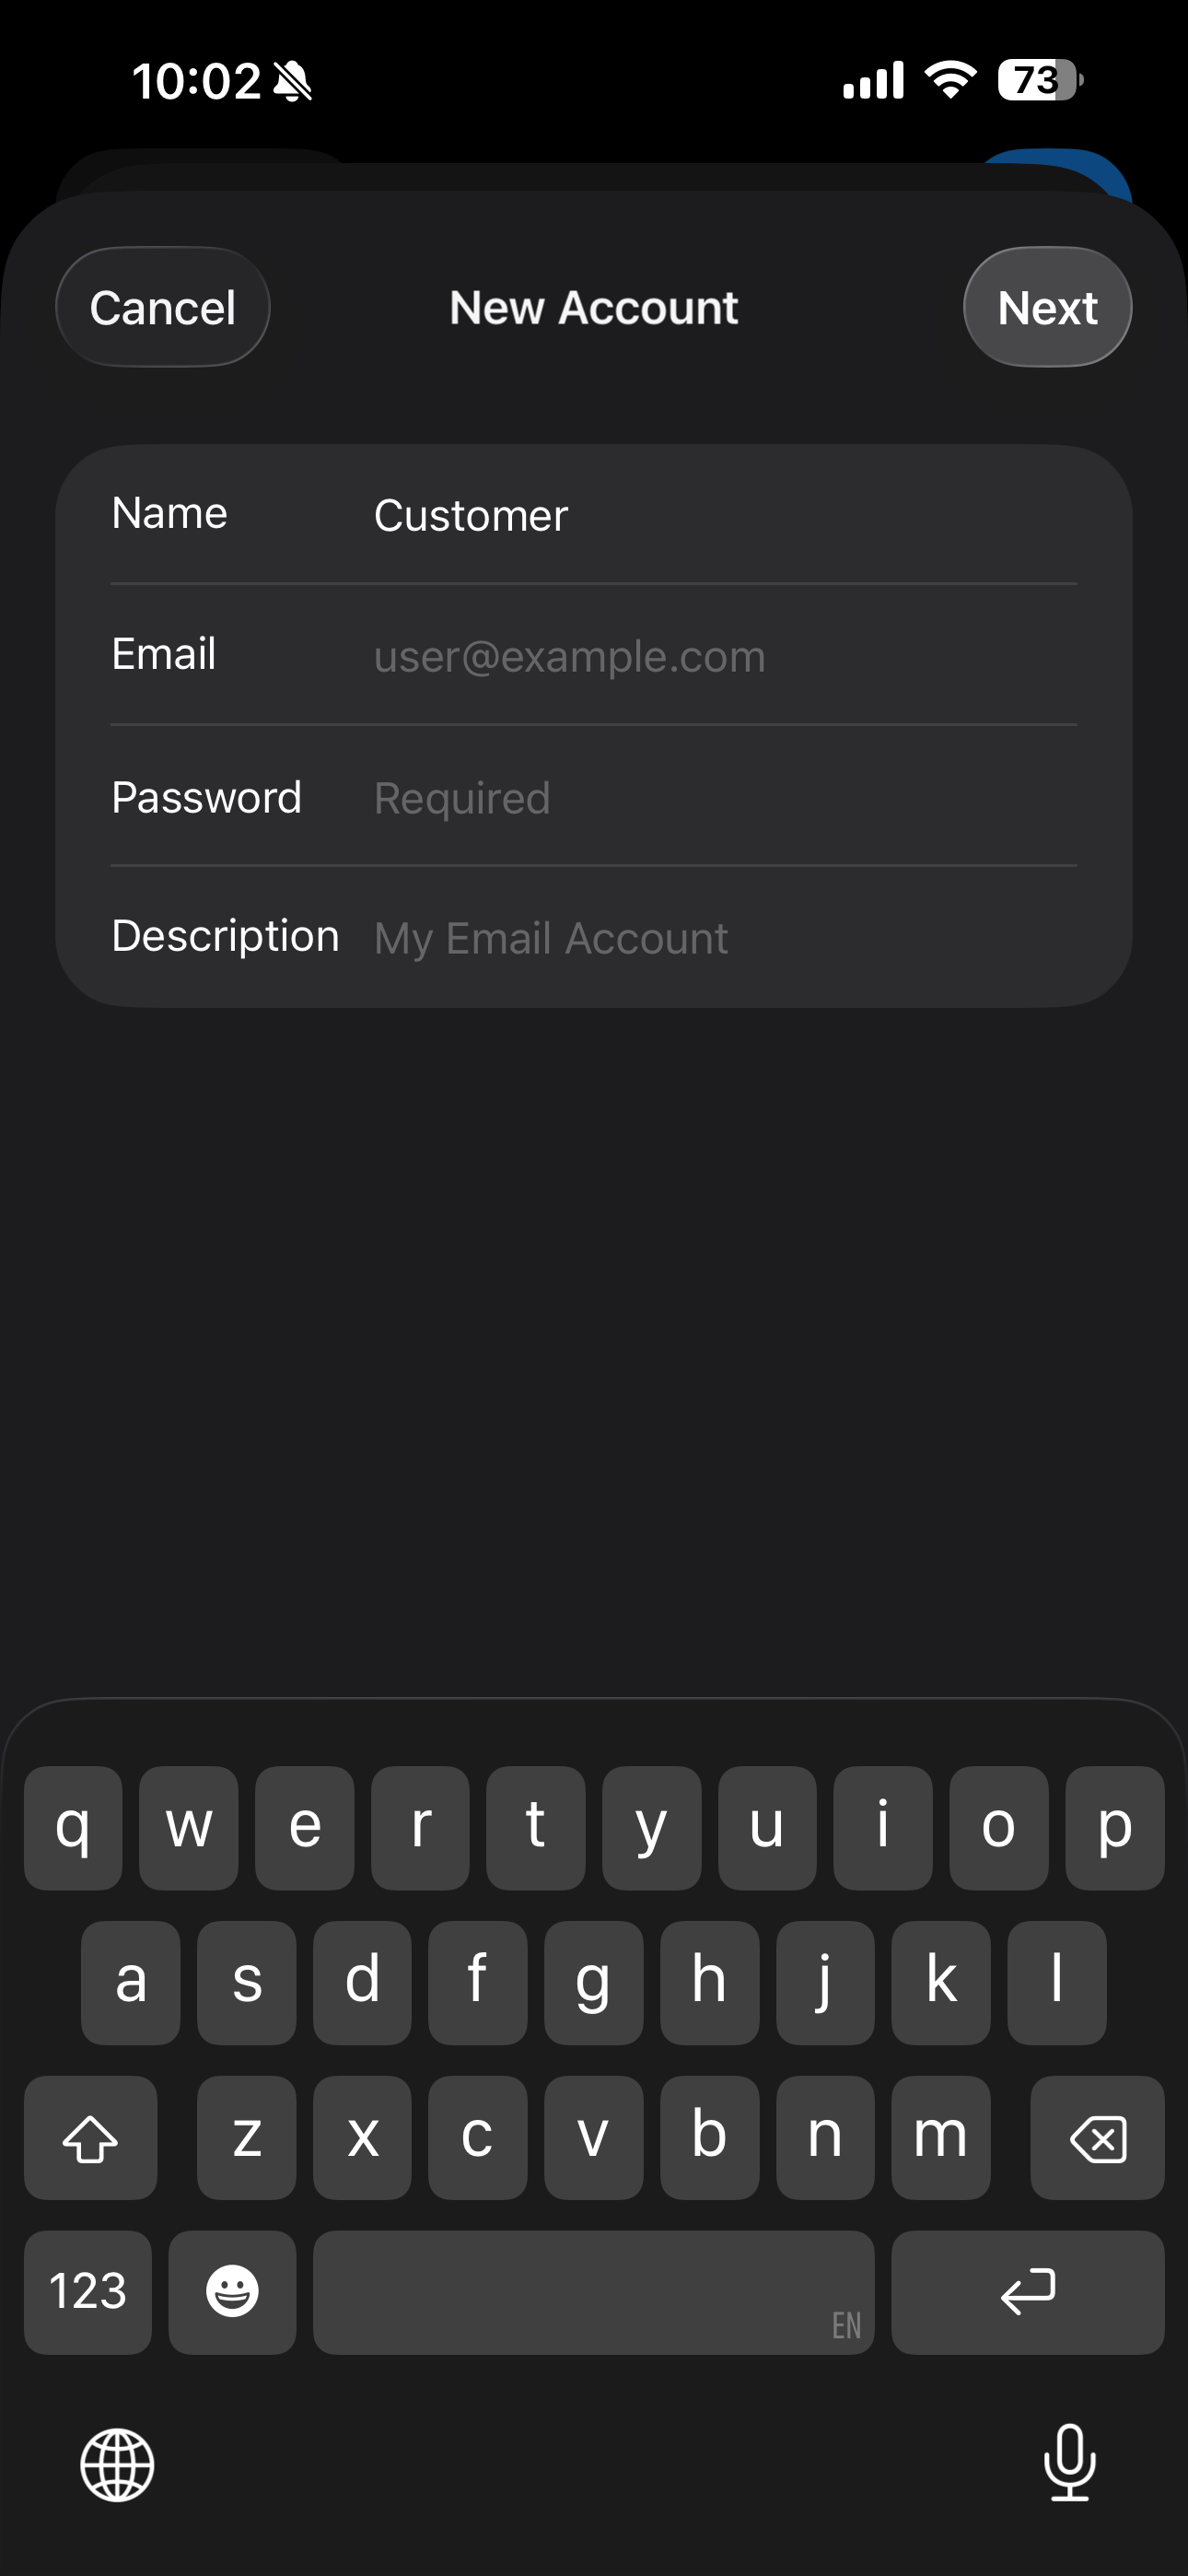
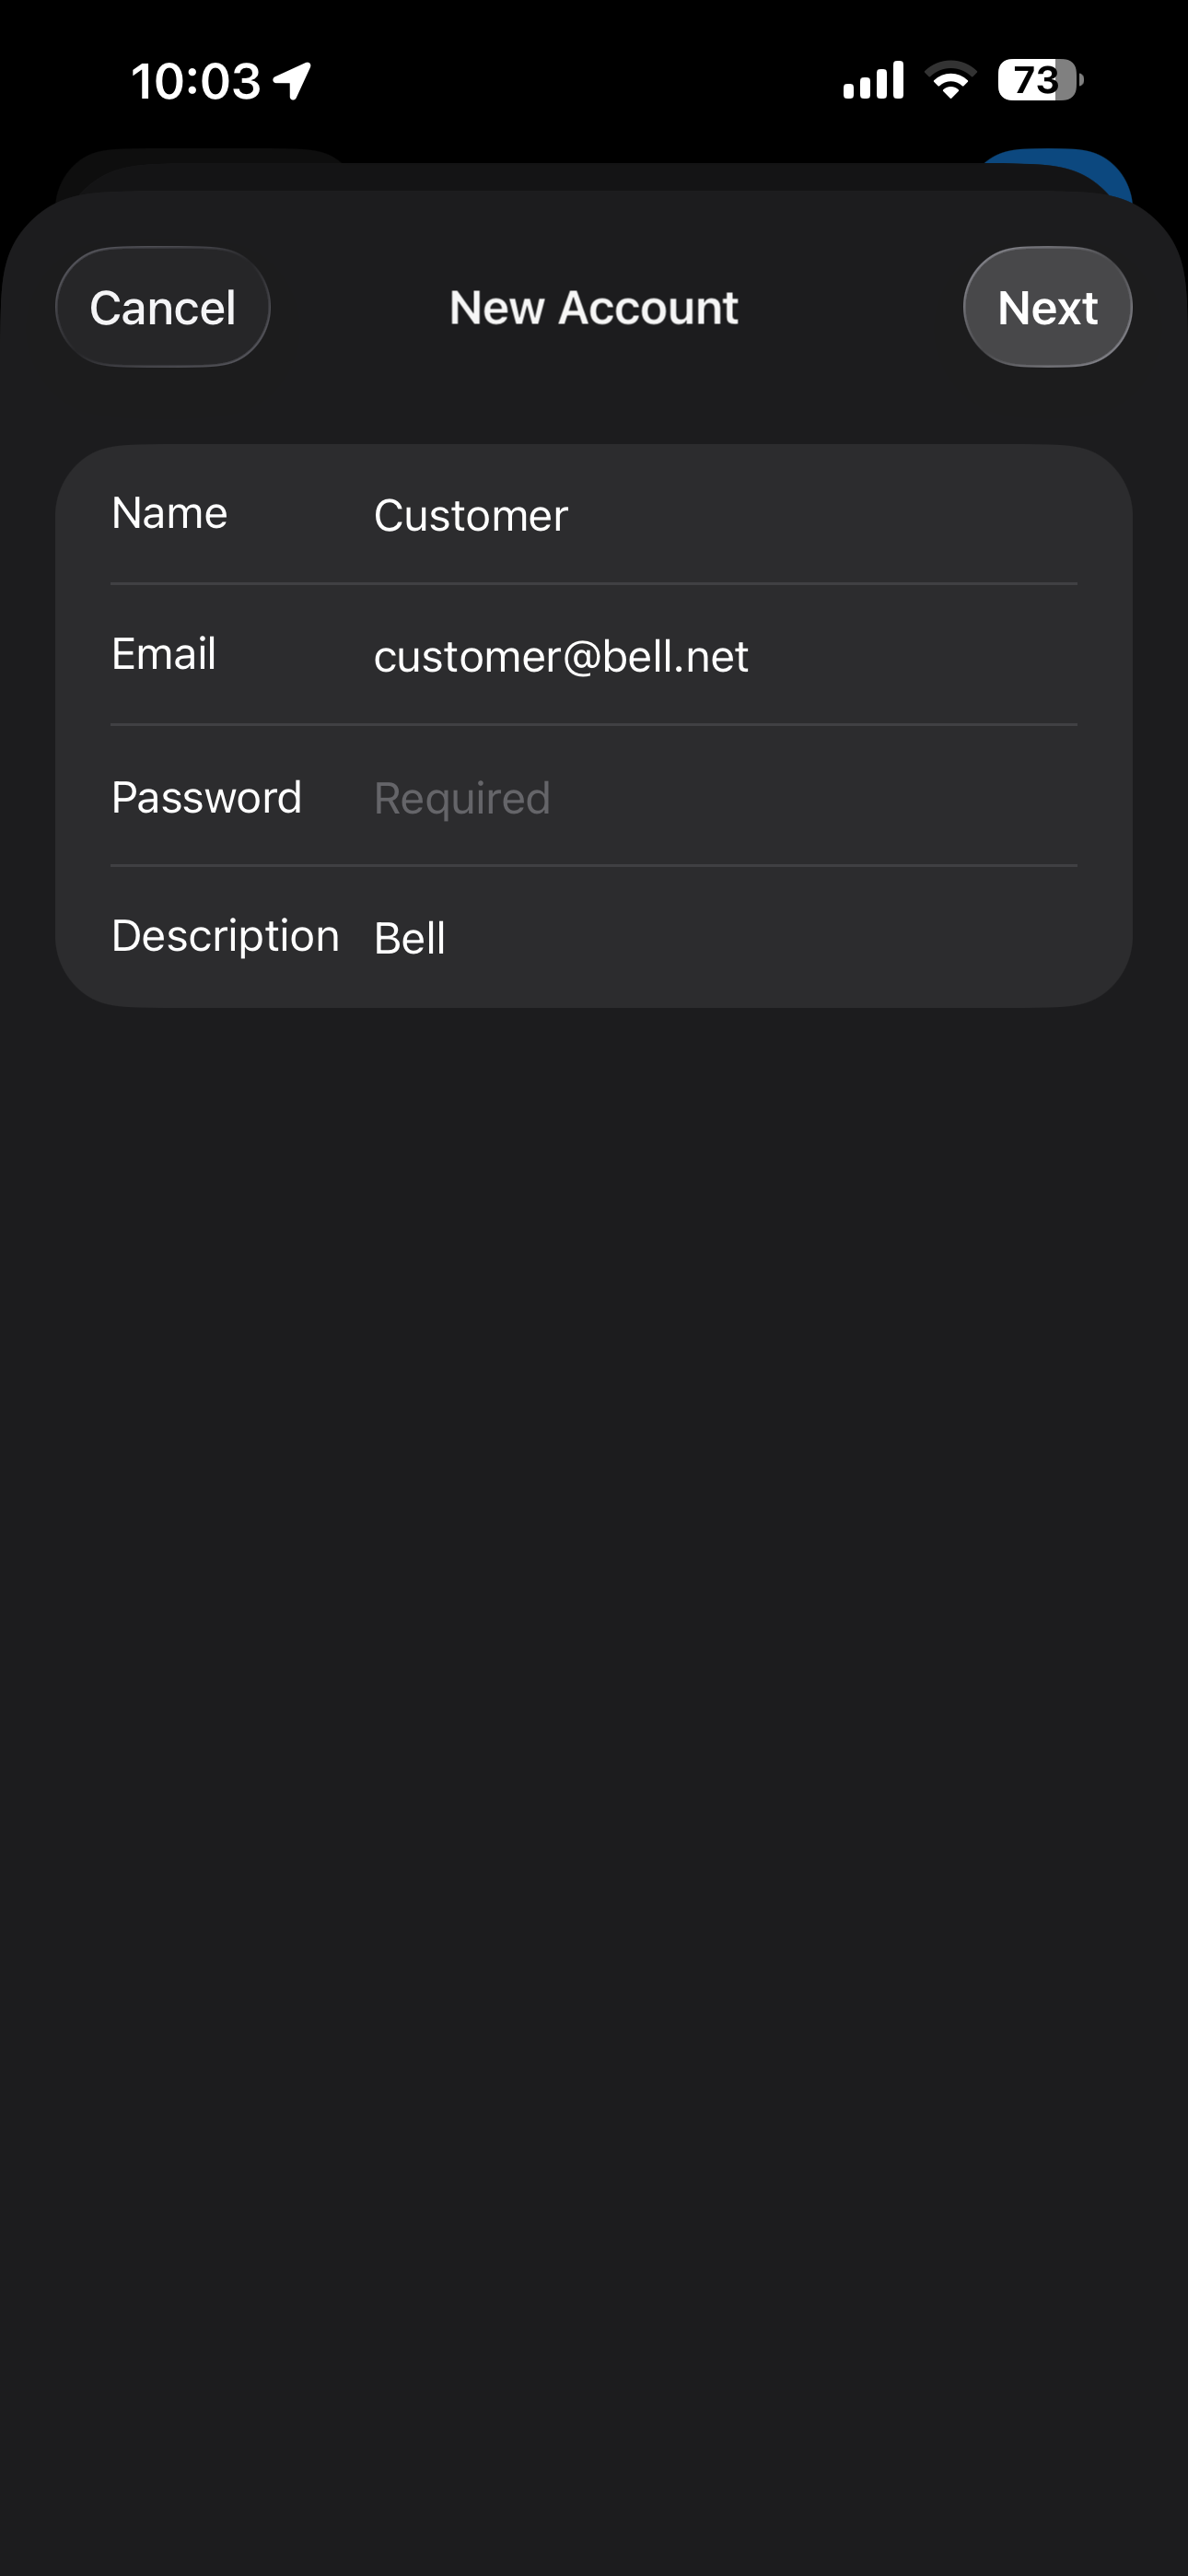
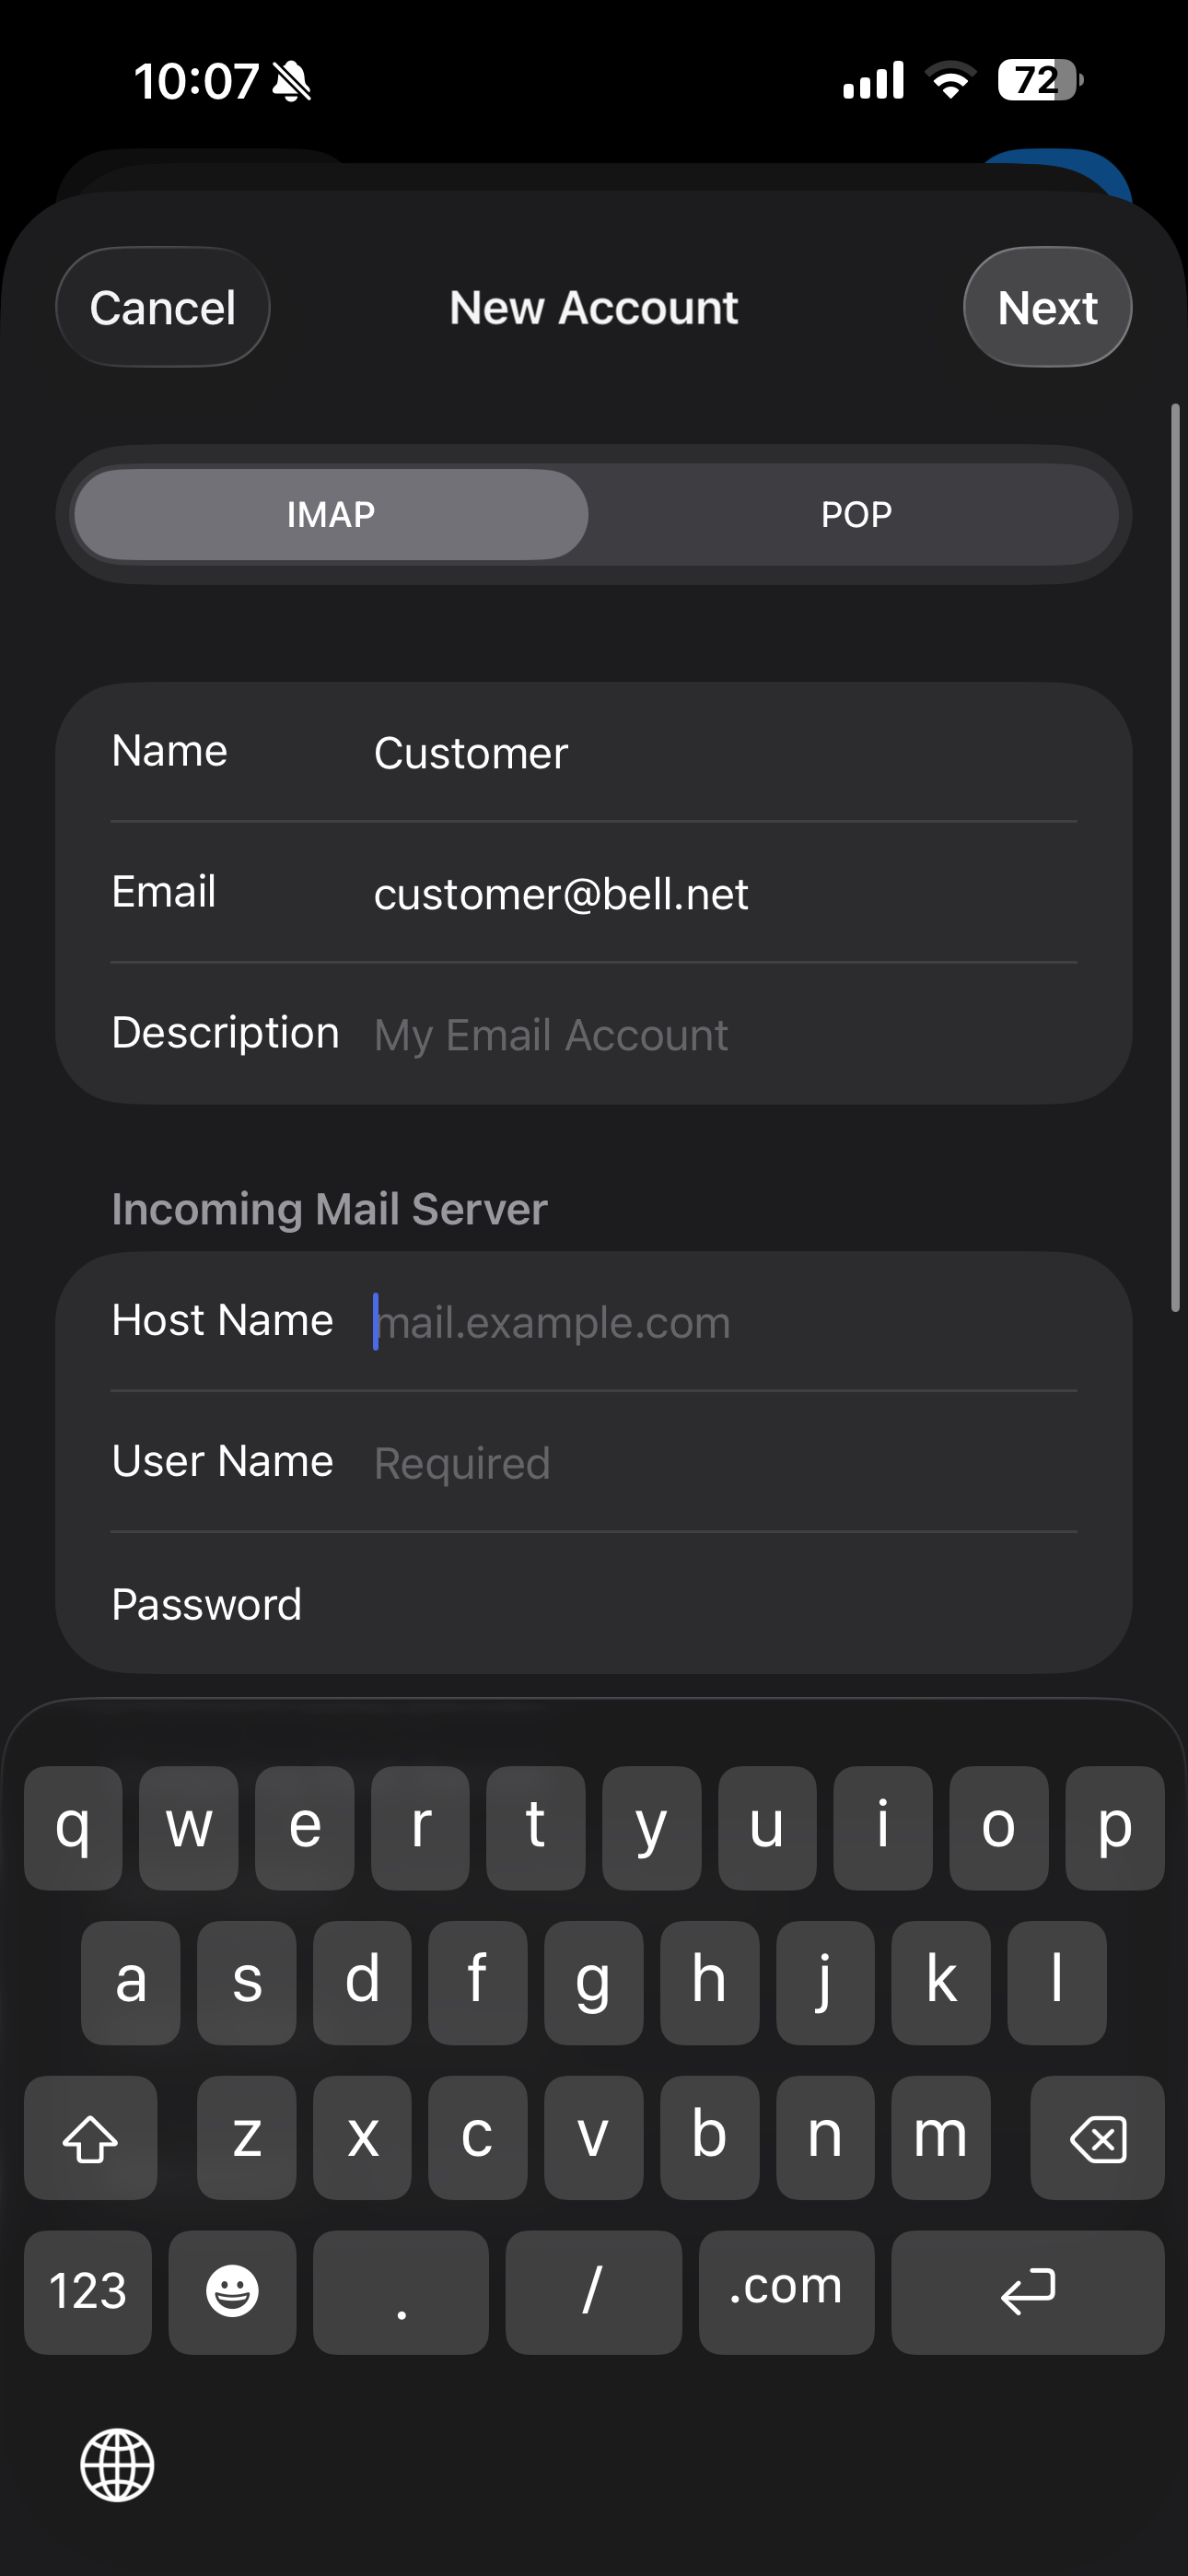
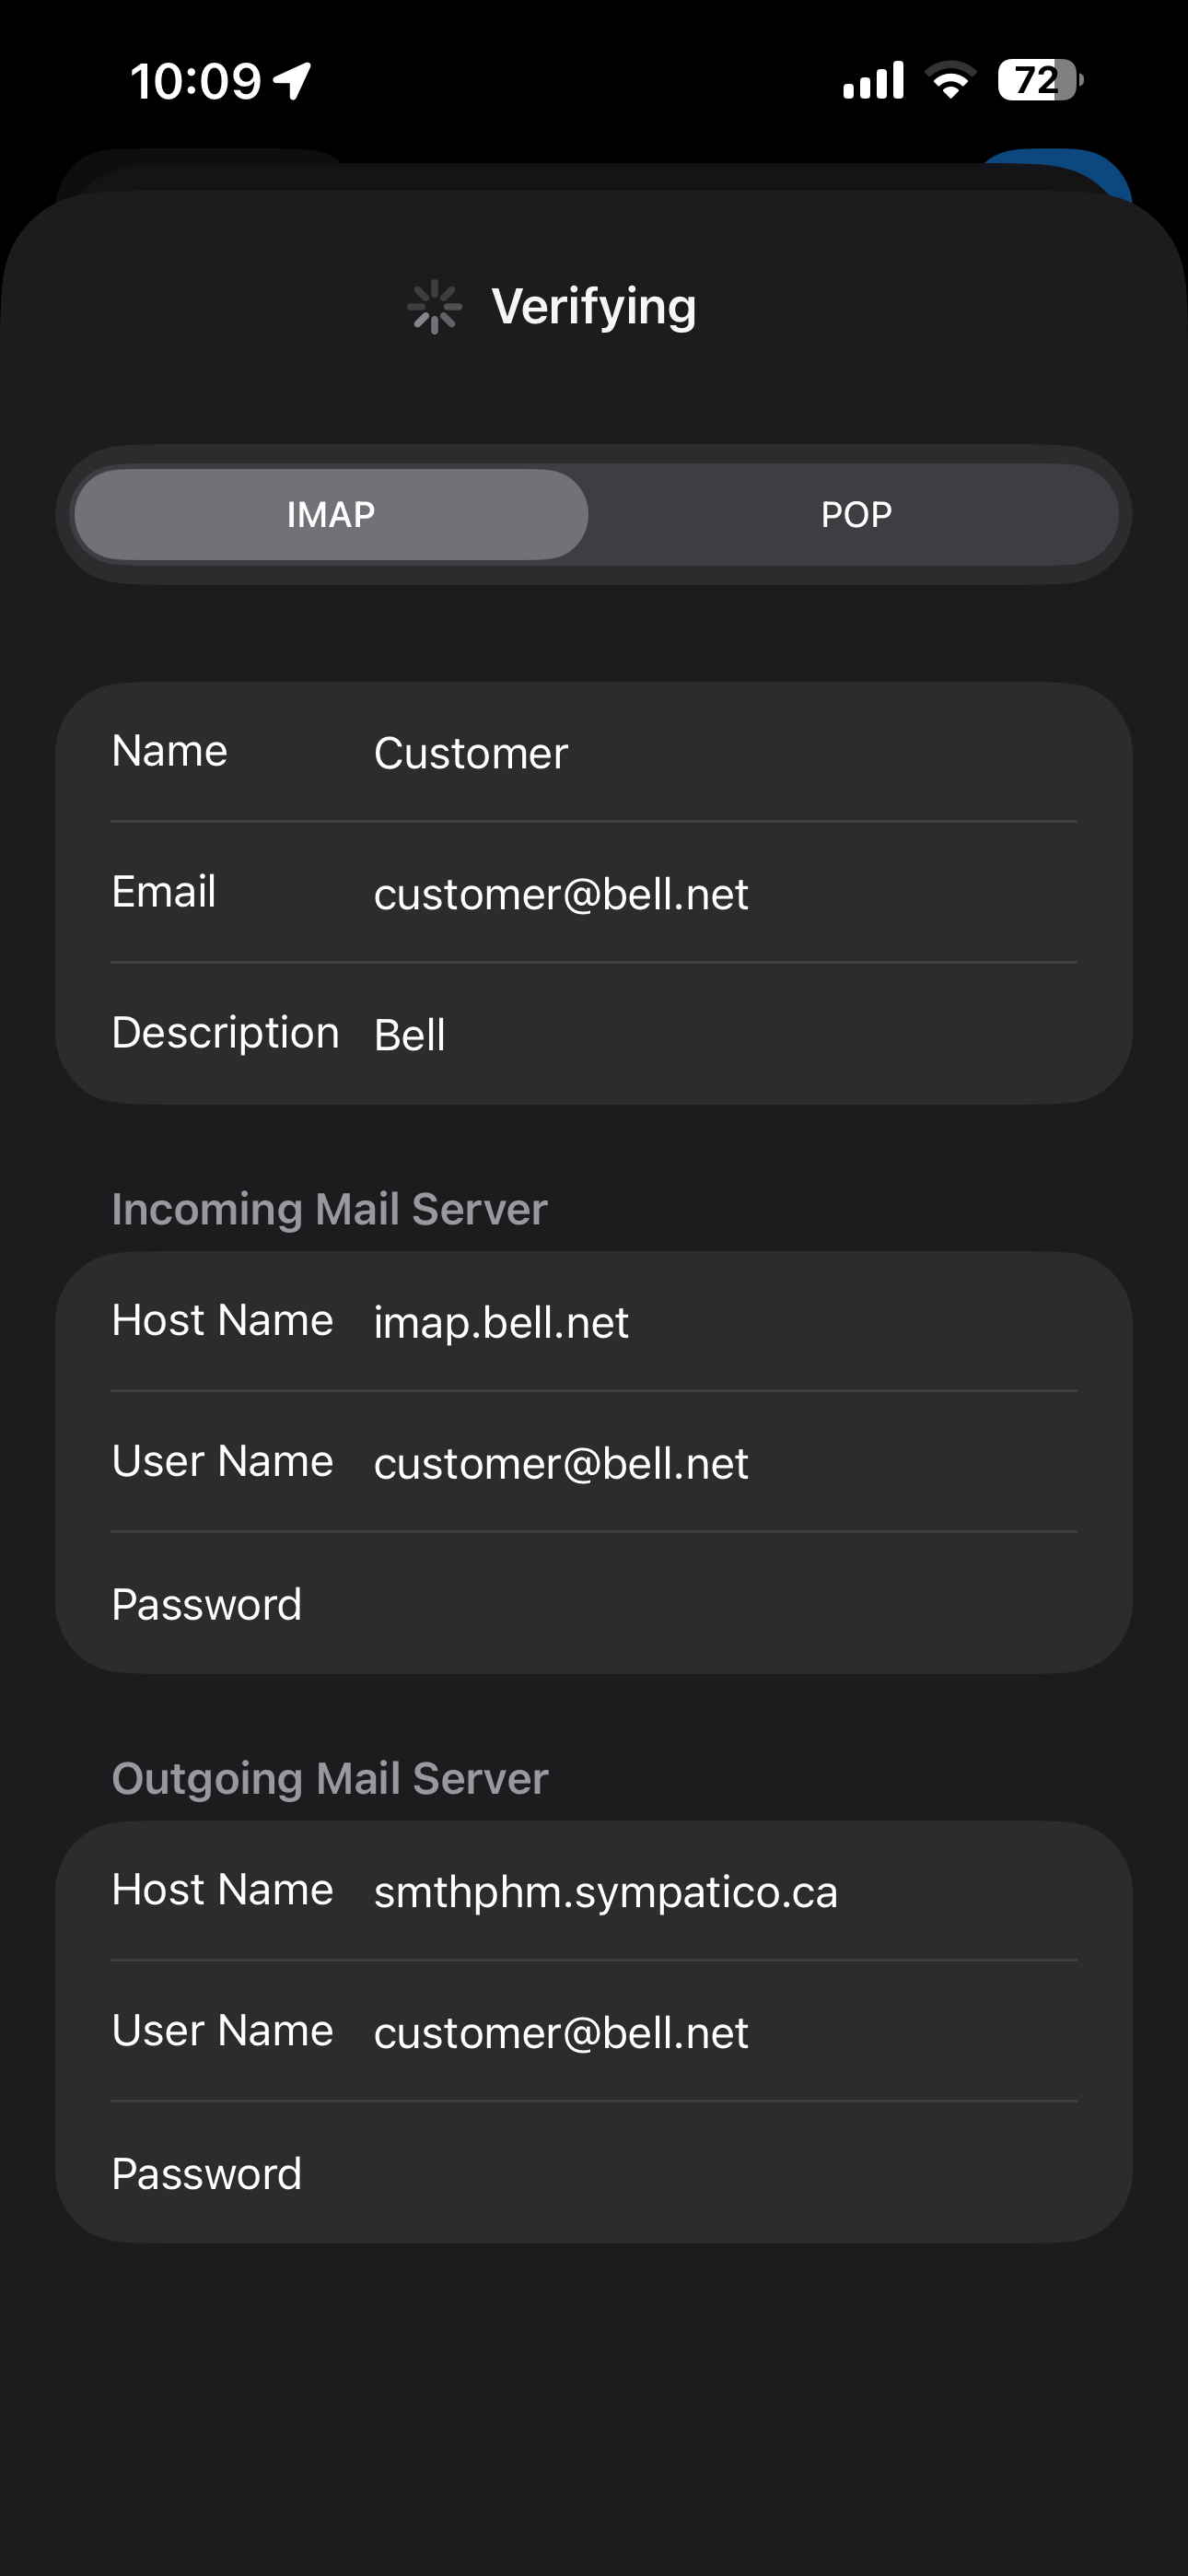
- Touch Nameand enter your name.
- Touch Email and enter your Bell email address.
- Touch Password and enter your Bell email password.
- Touch Passwordand enter your Bell email password.
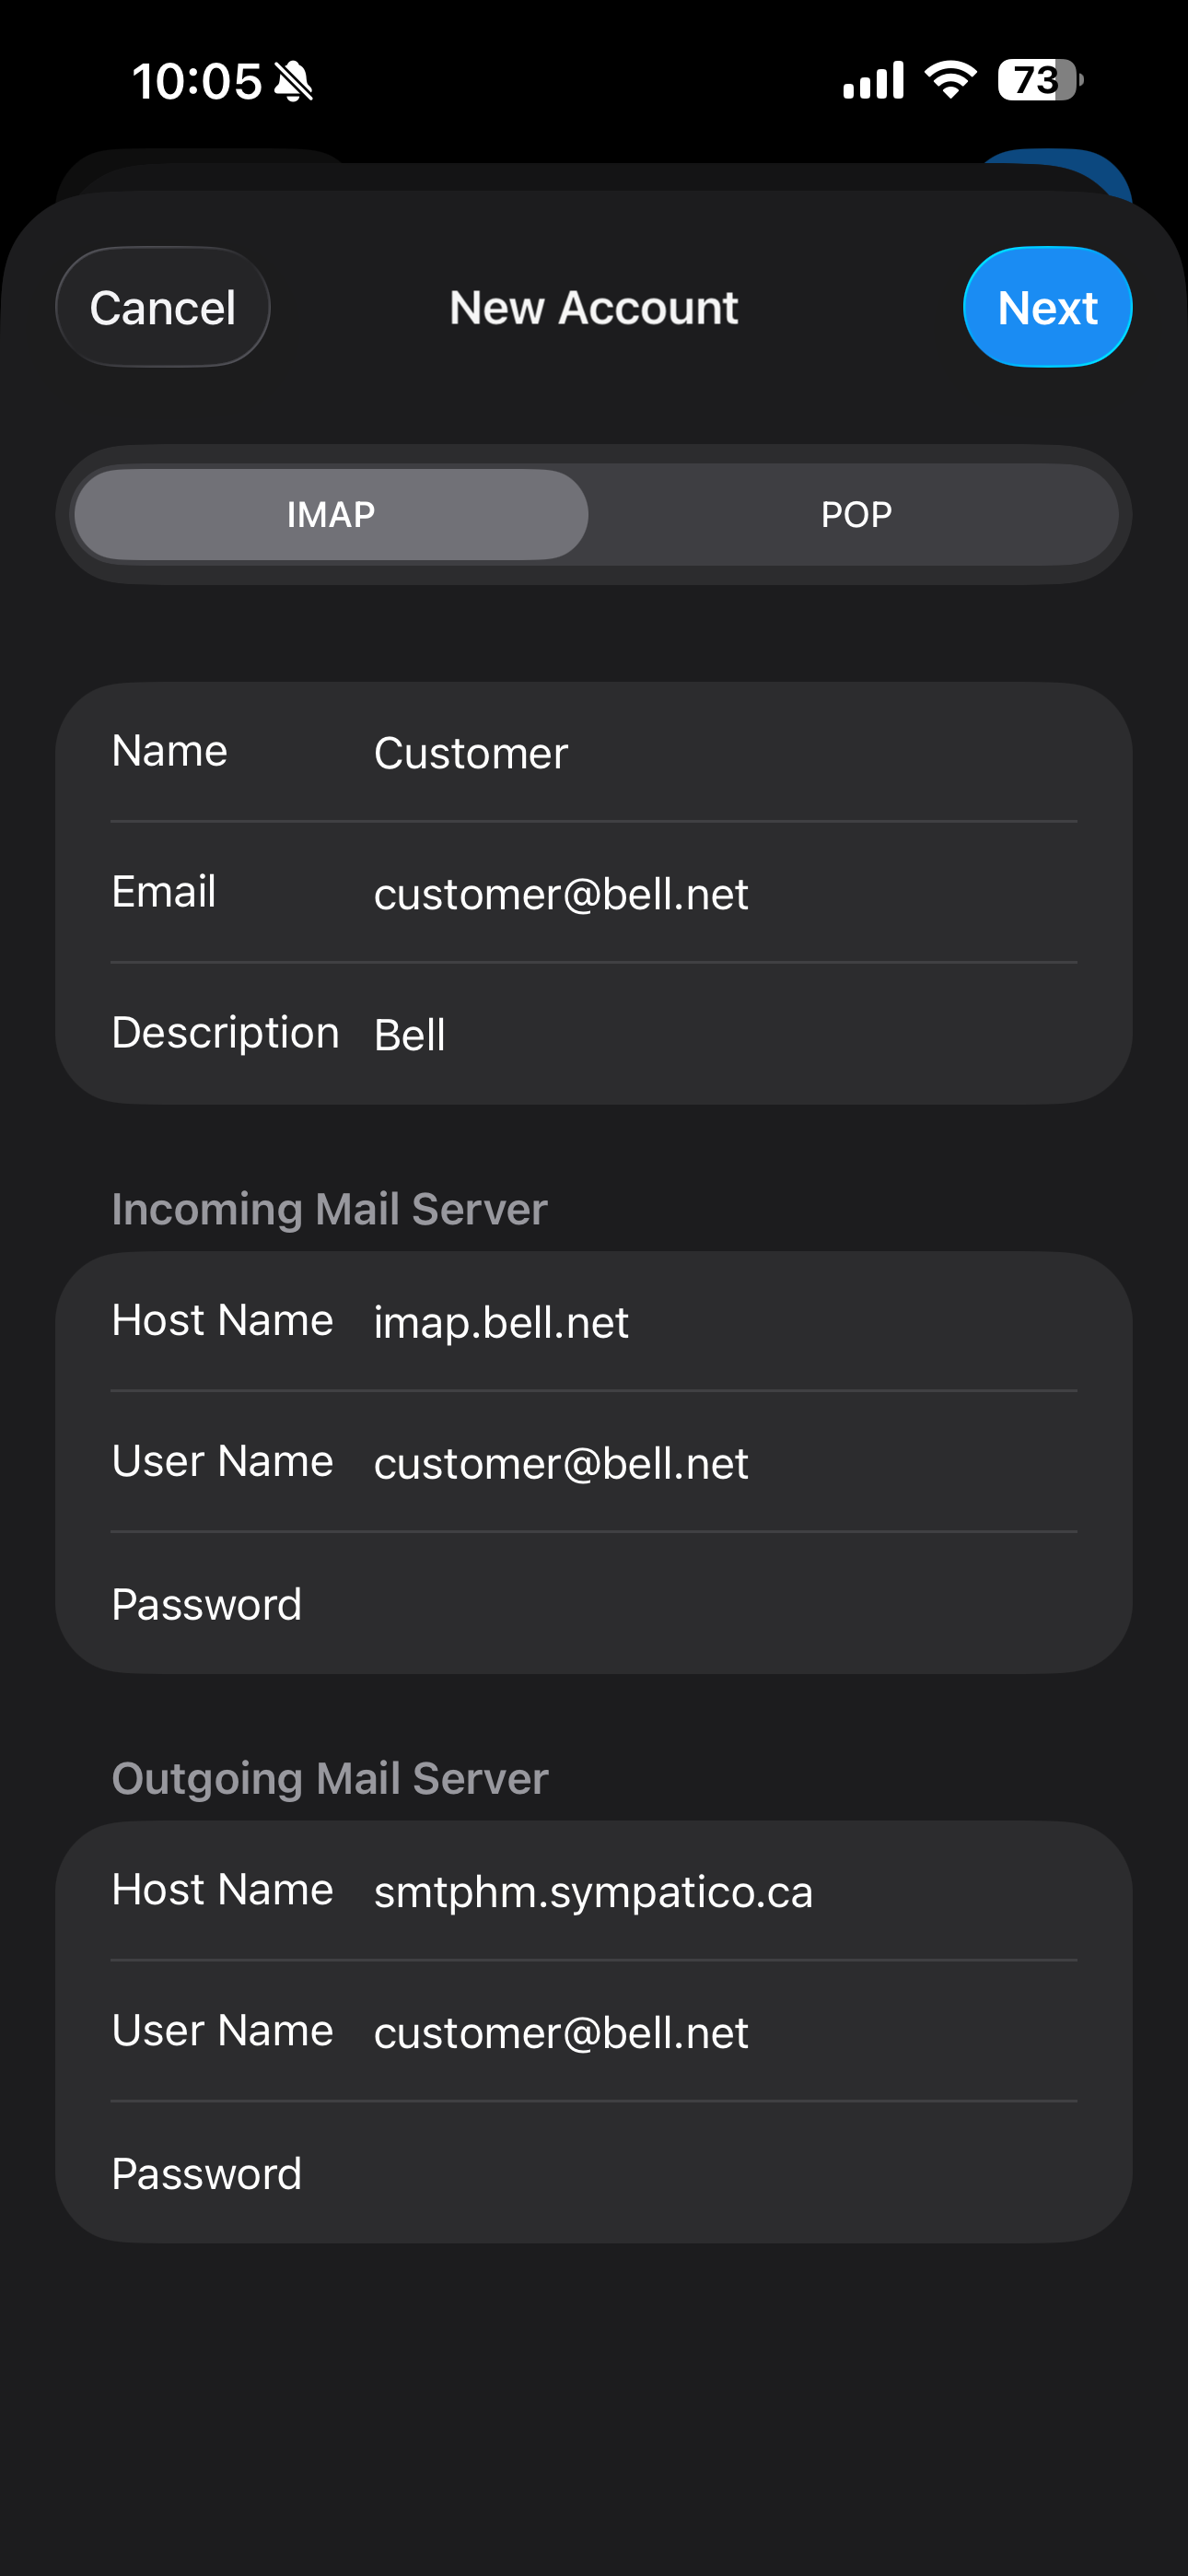
- Touch IMAP.
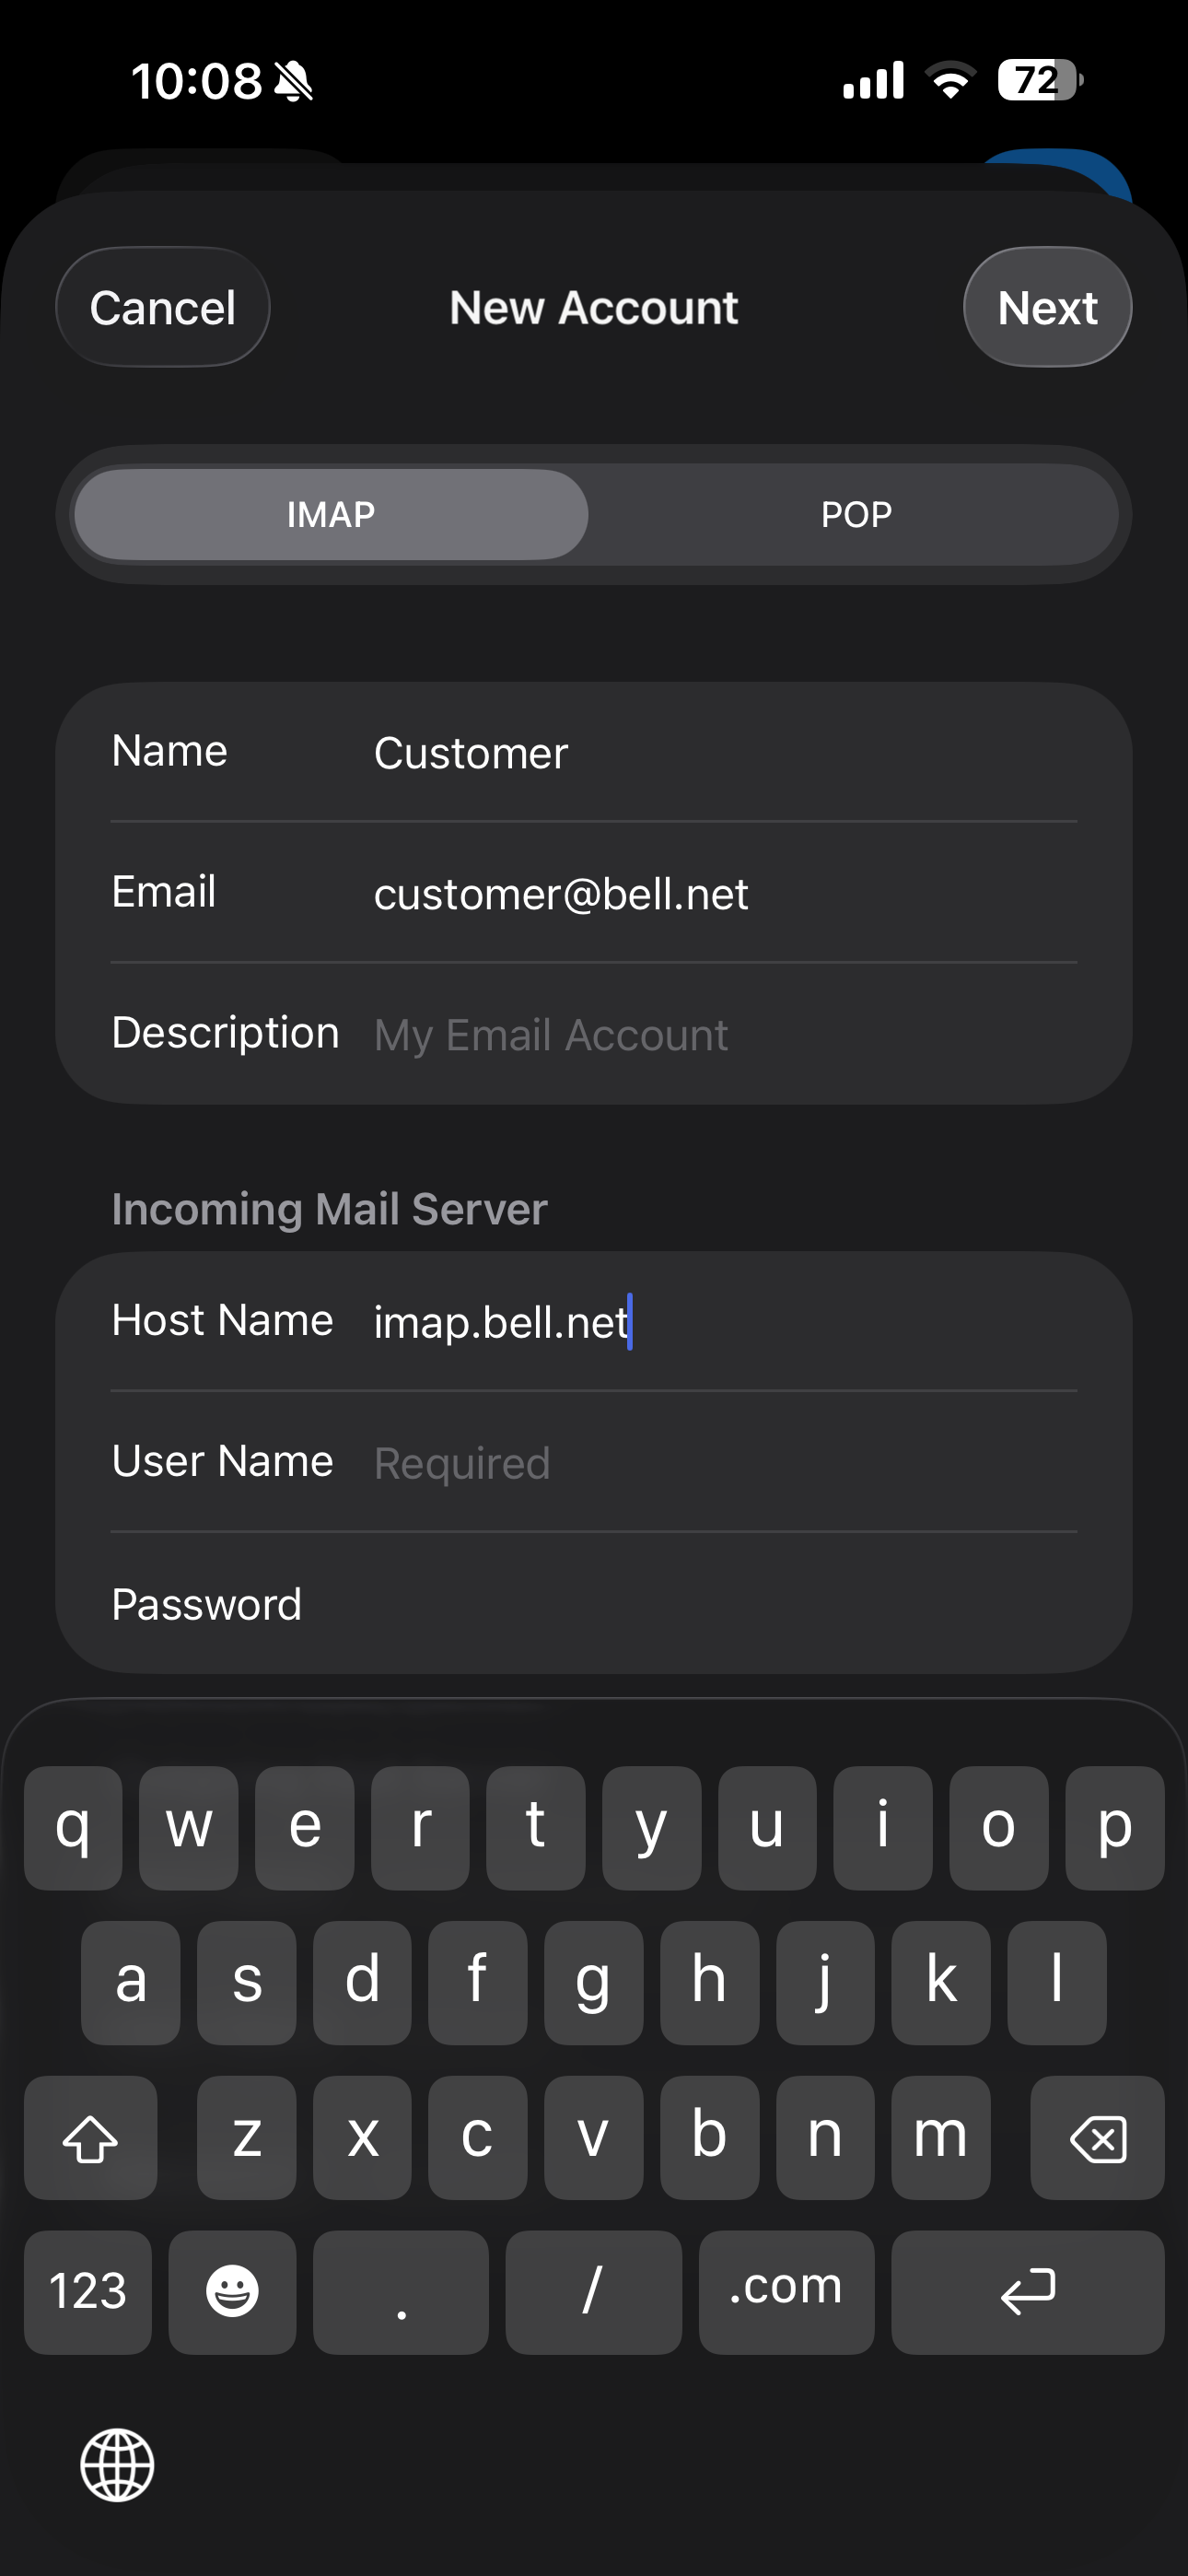
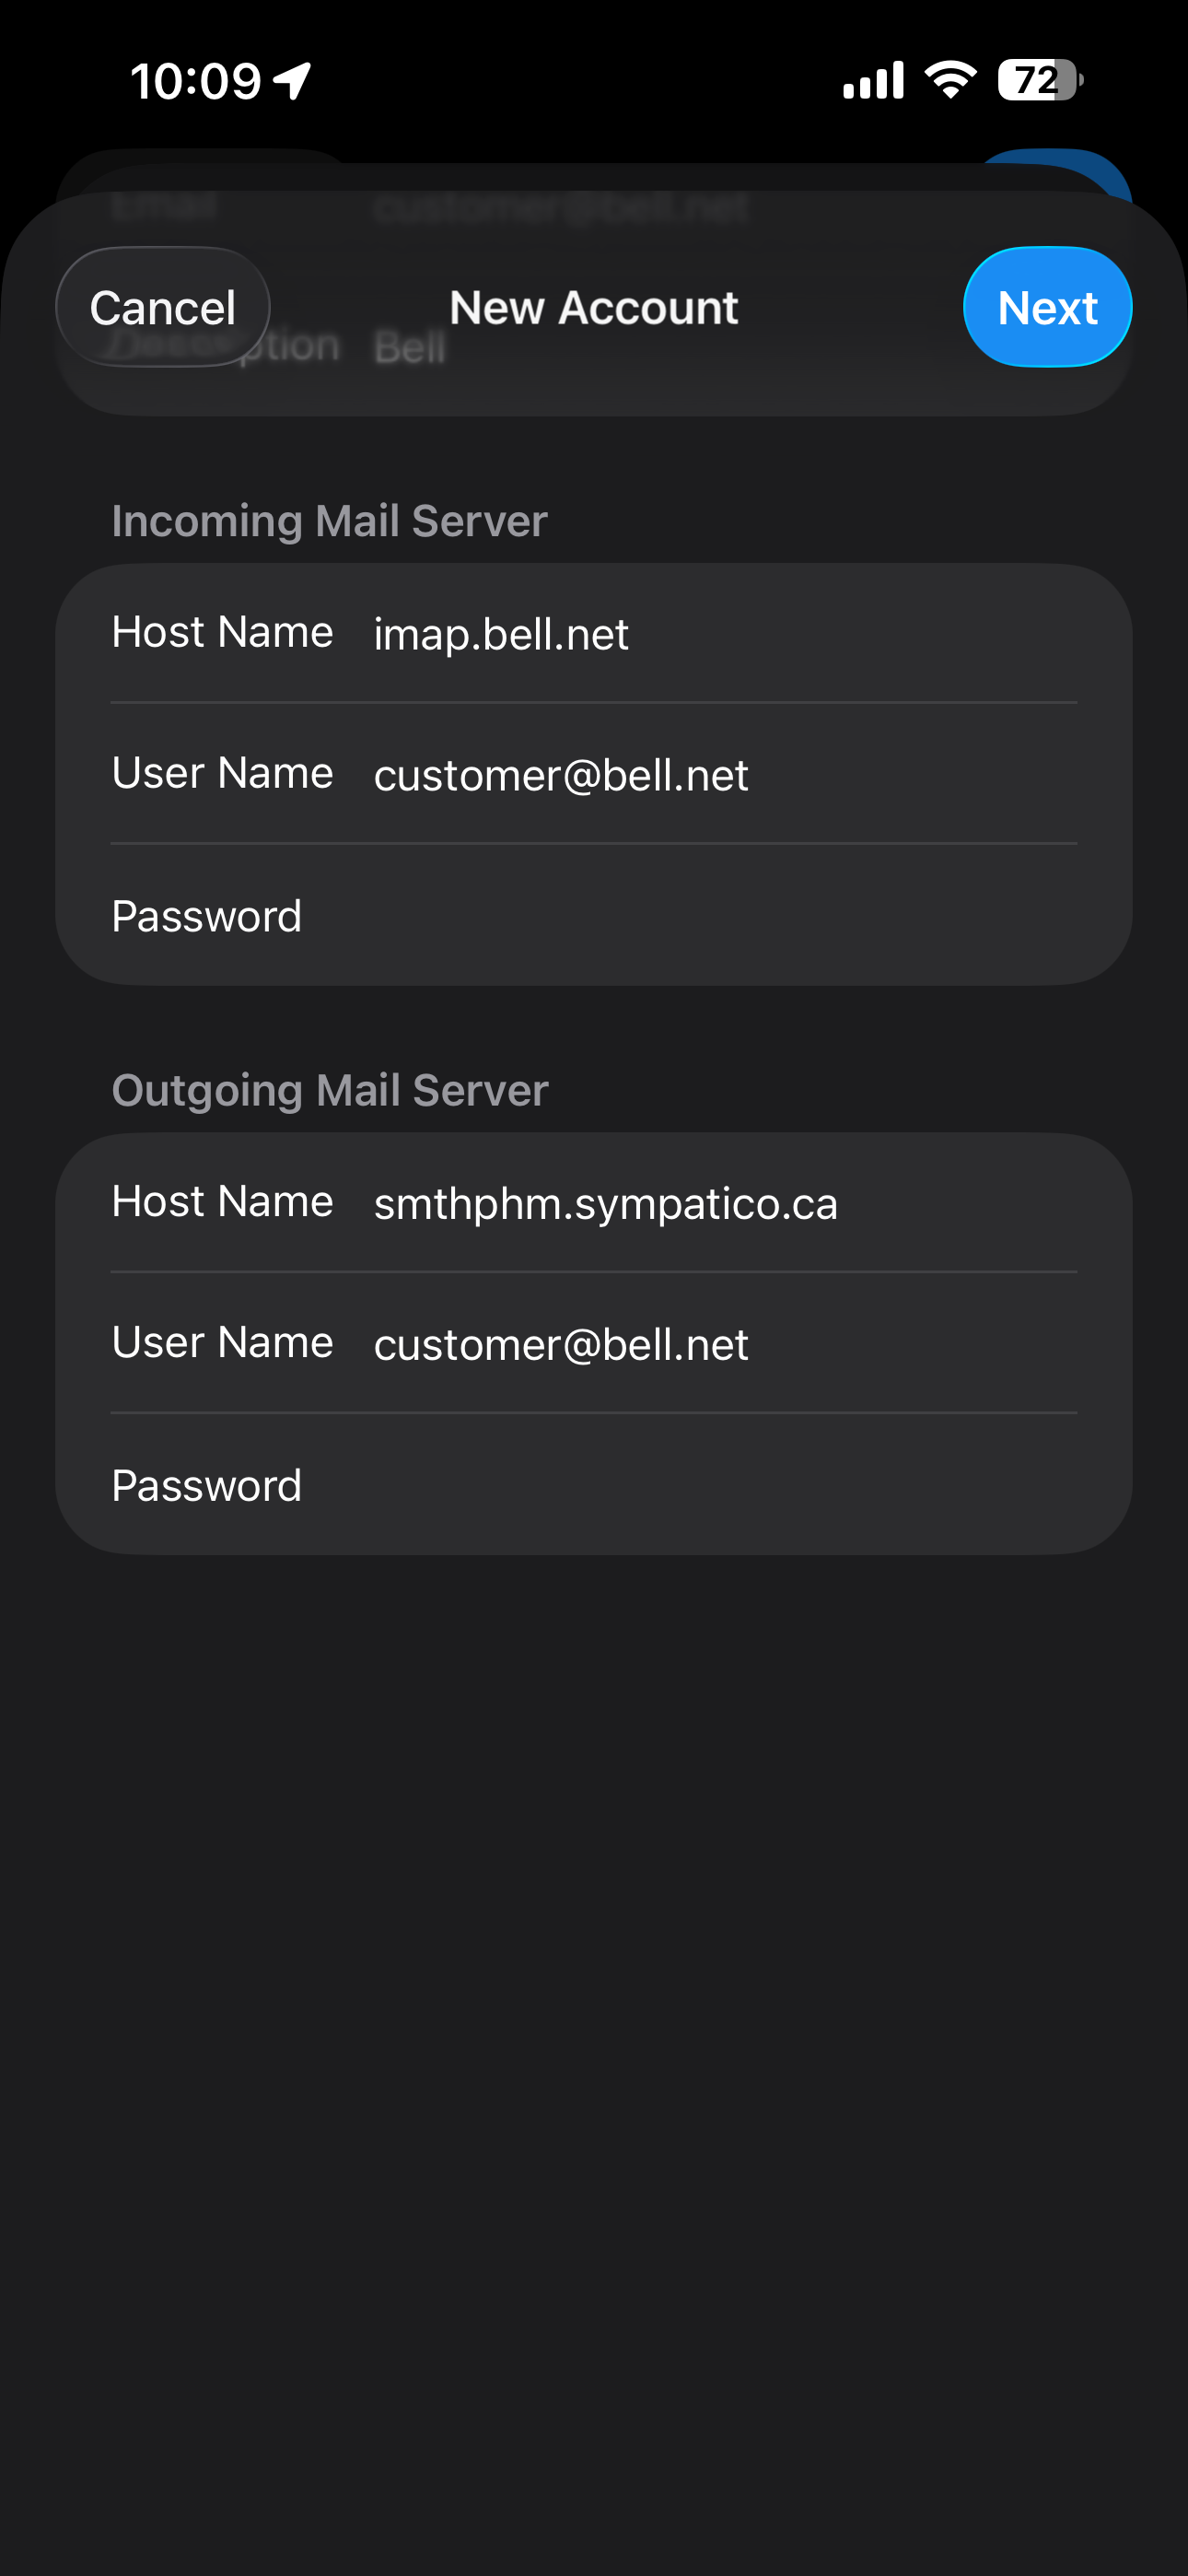
- Under INCOMING MAIL SERVER, touch Host Name and enter imap.bell.net as the incoming host name.
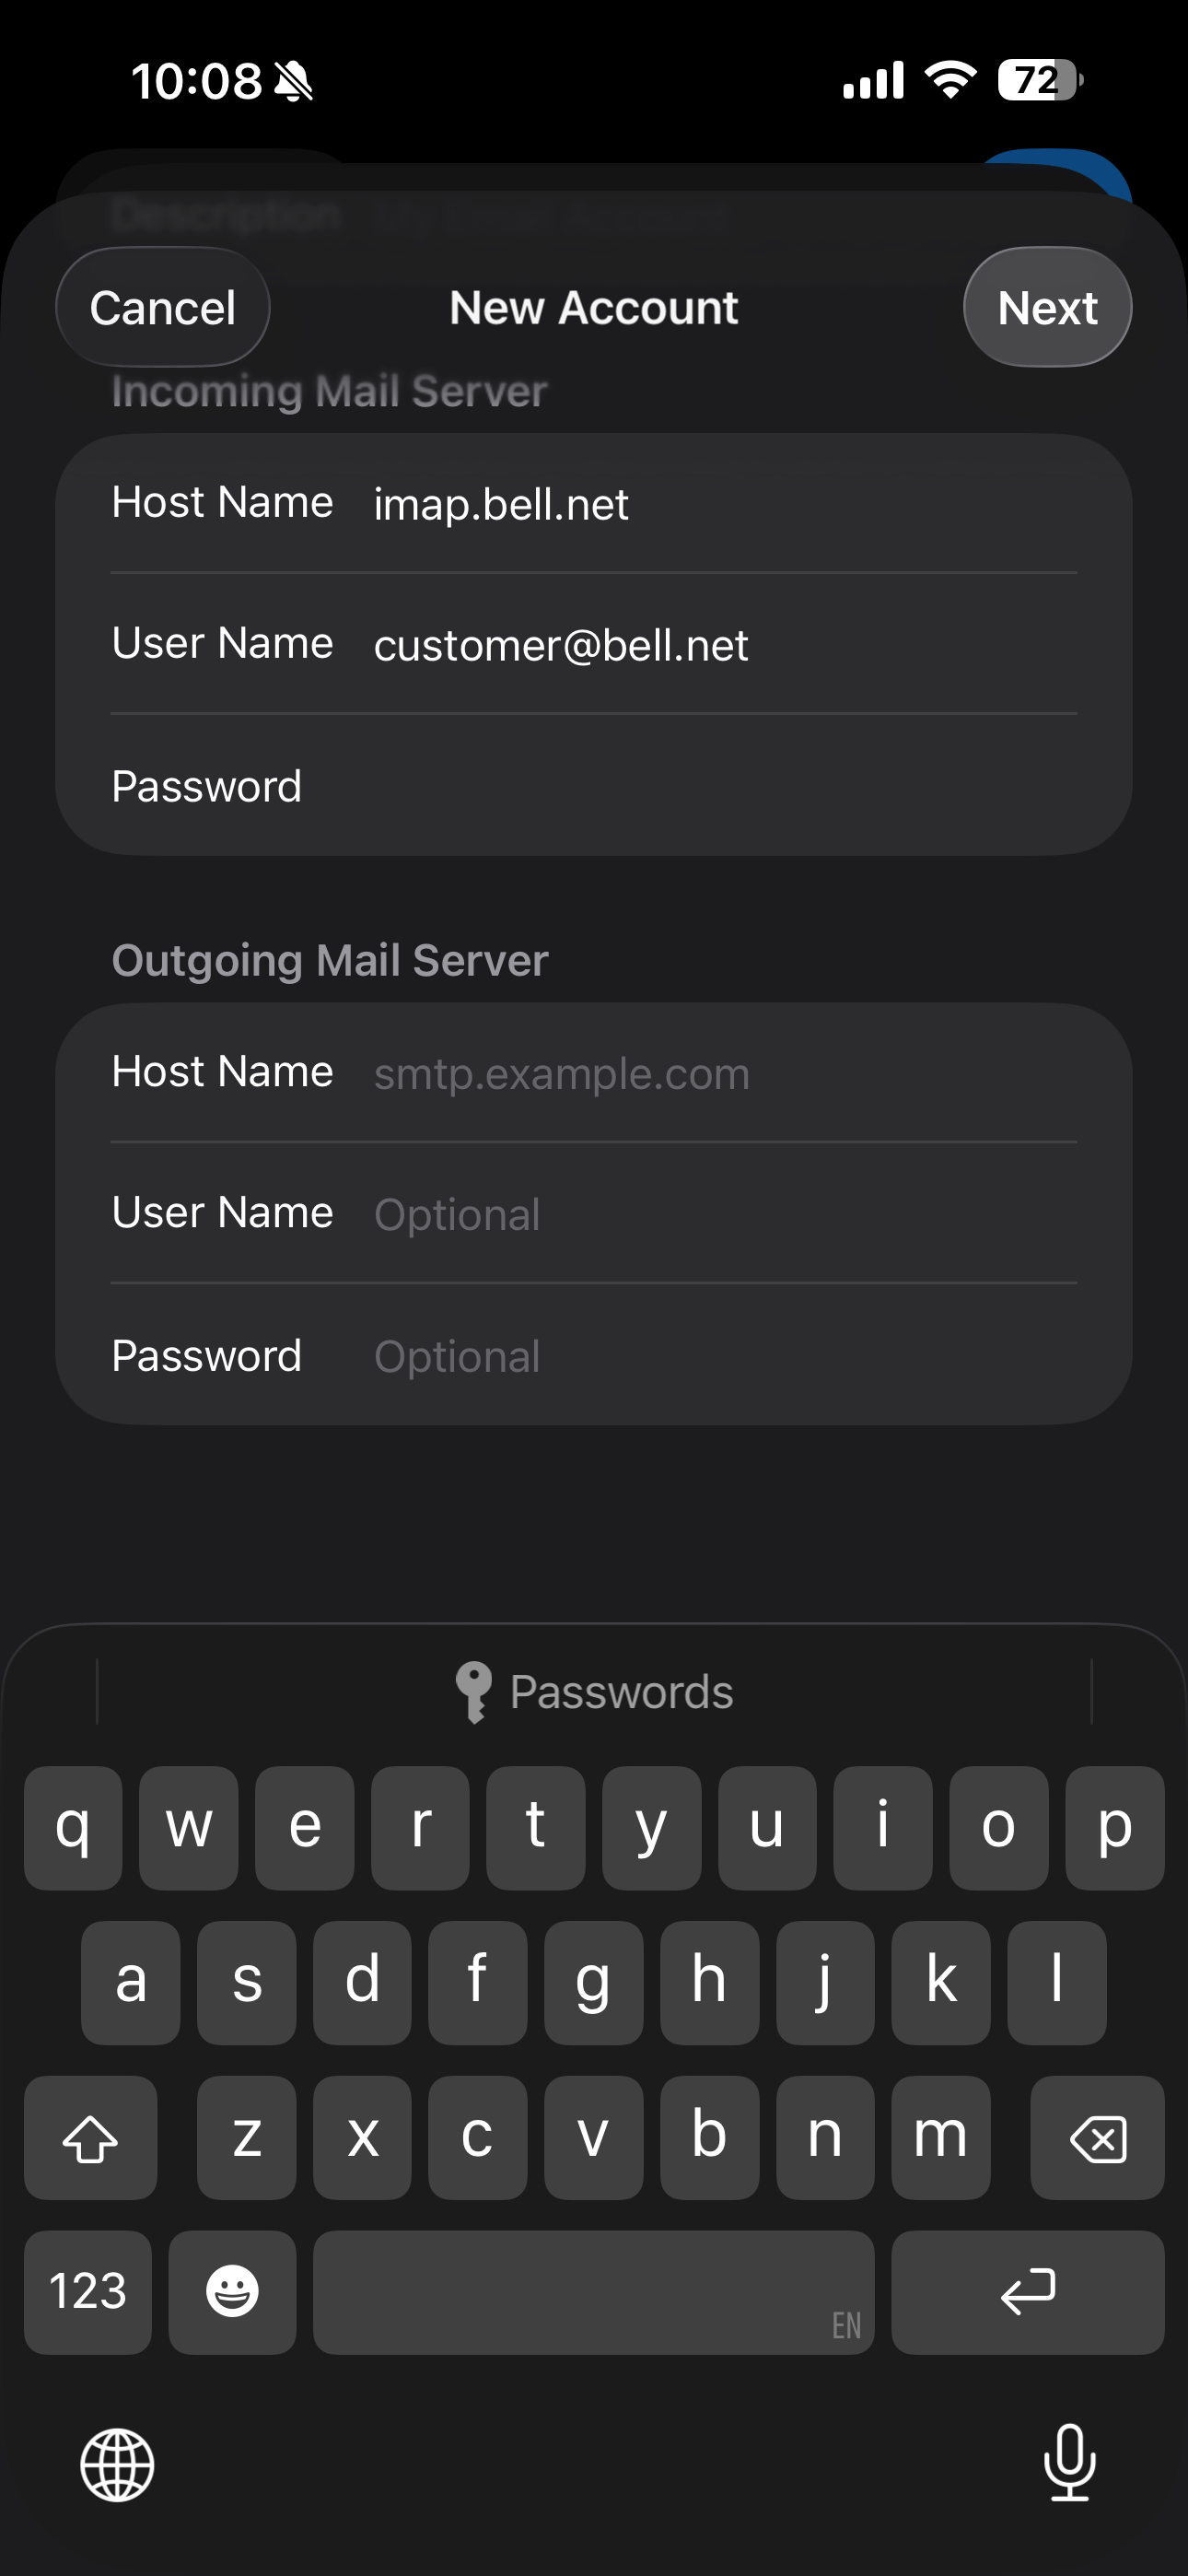
- Touch User Name and enter your Bell email address as the username.
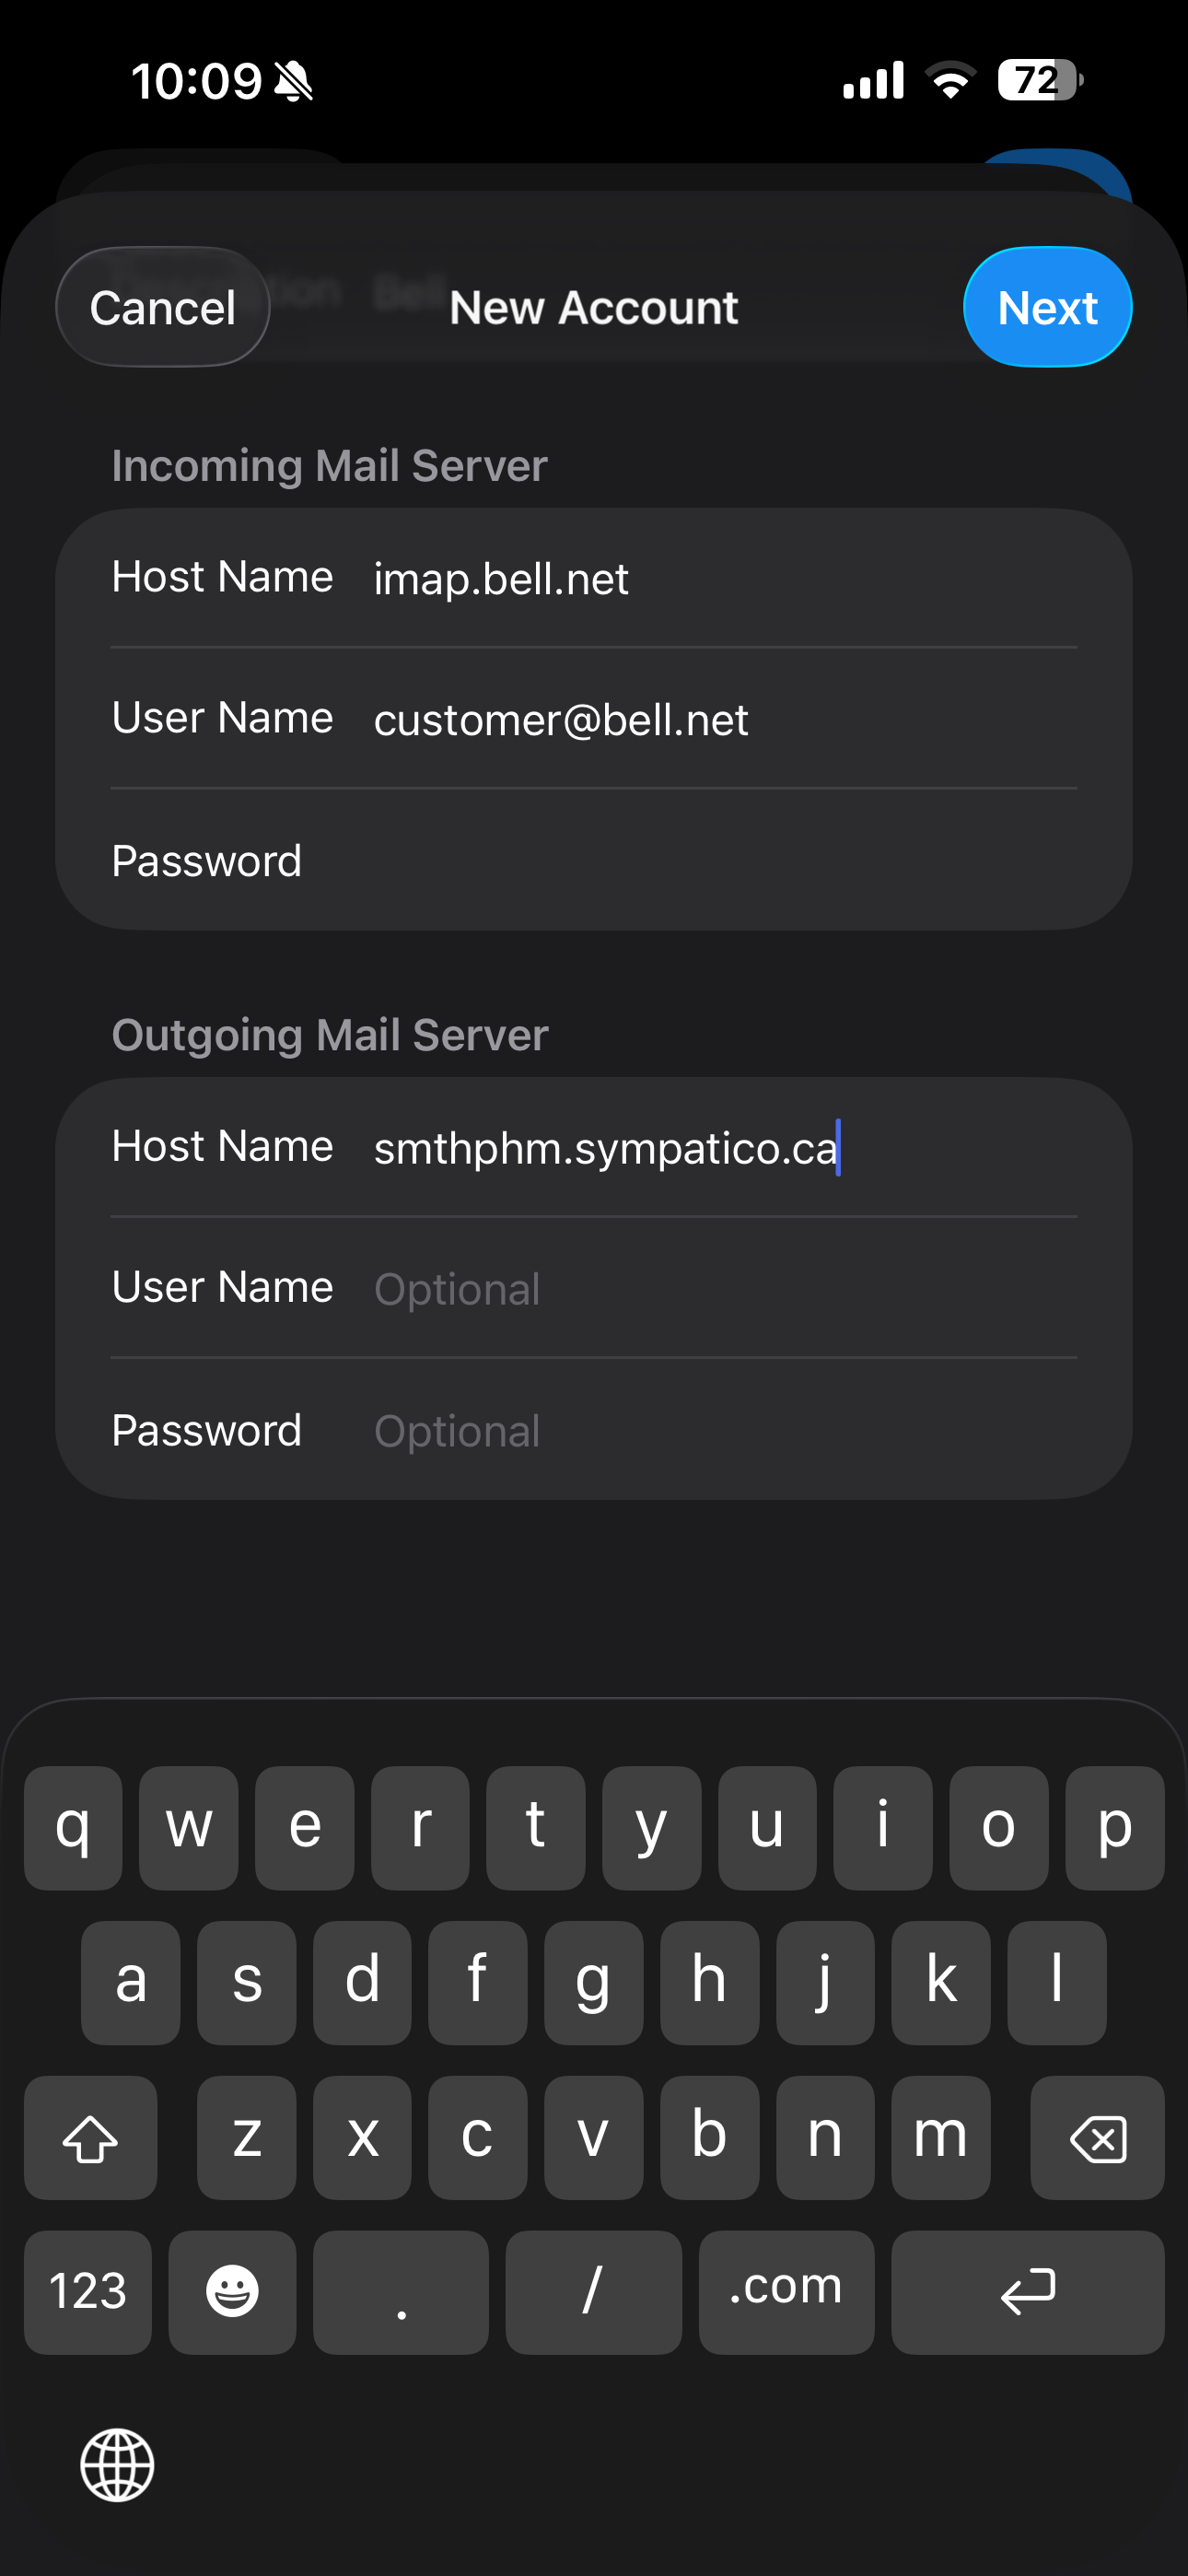
- Under OUTGOING MAIL SERVER touch Host Name and enter smtphm.sympatico.ca as the outgoing host name.
- Touch User Name and Enter your Bell email address as the username.
- Touch Password and enter your Bell email password.
- Wait while the email settings are verified.
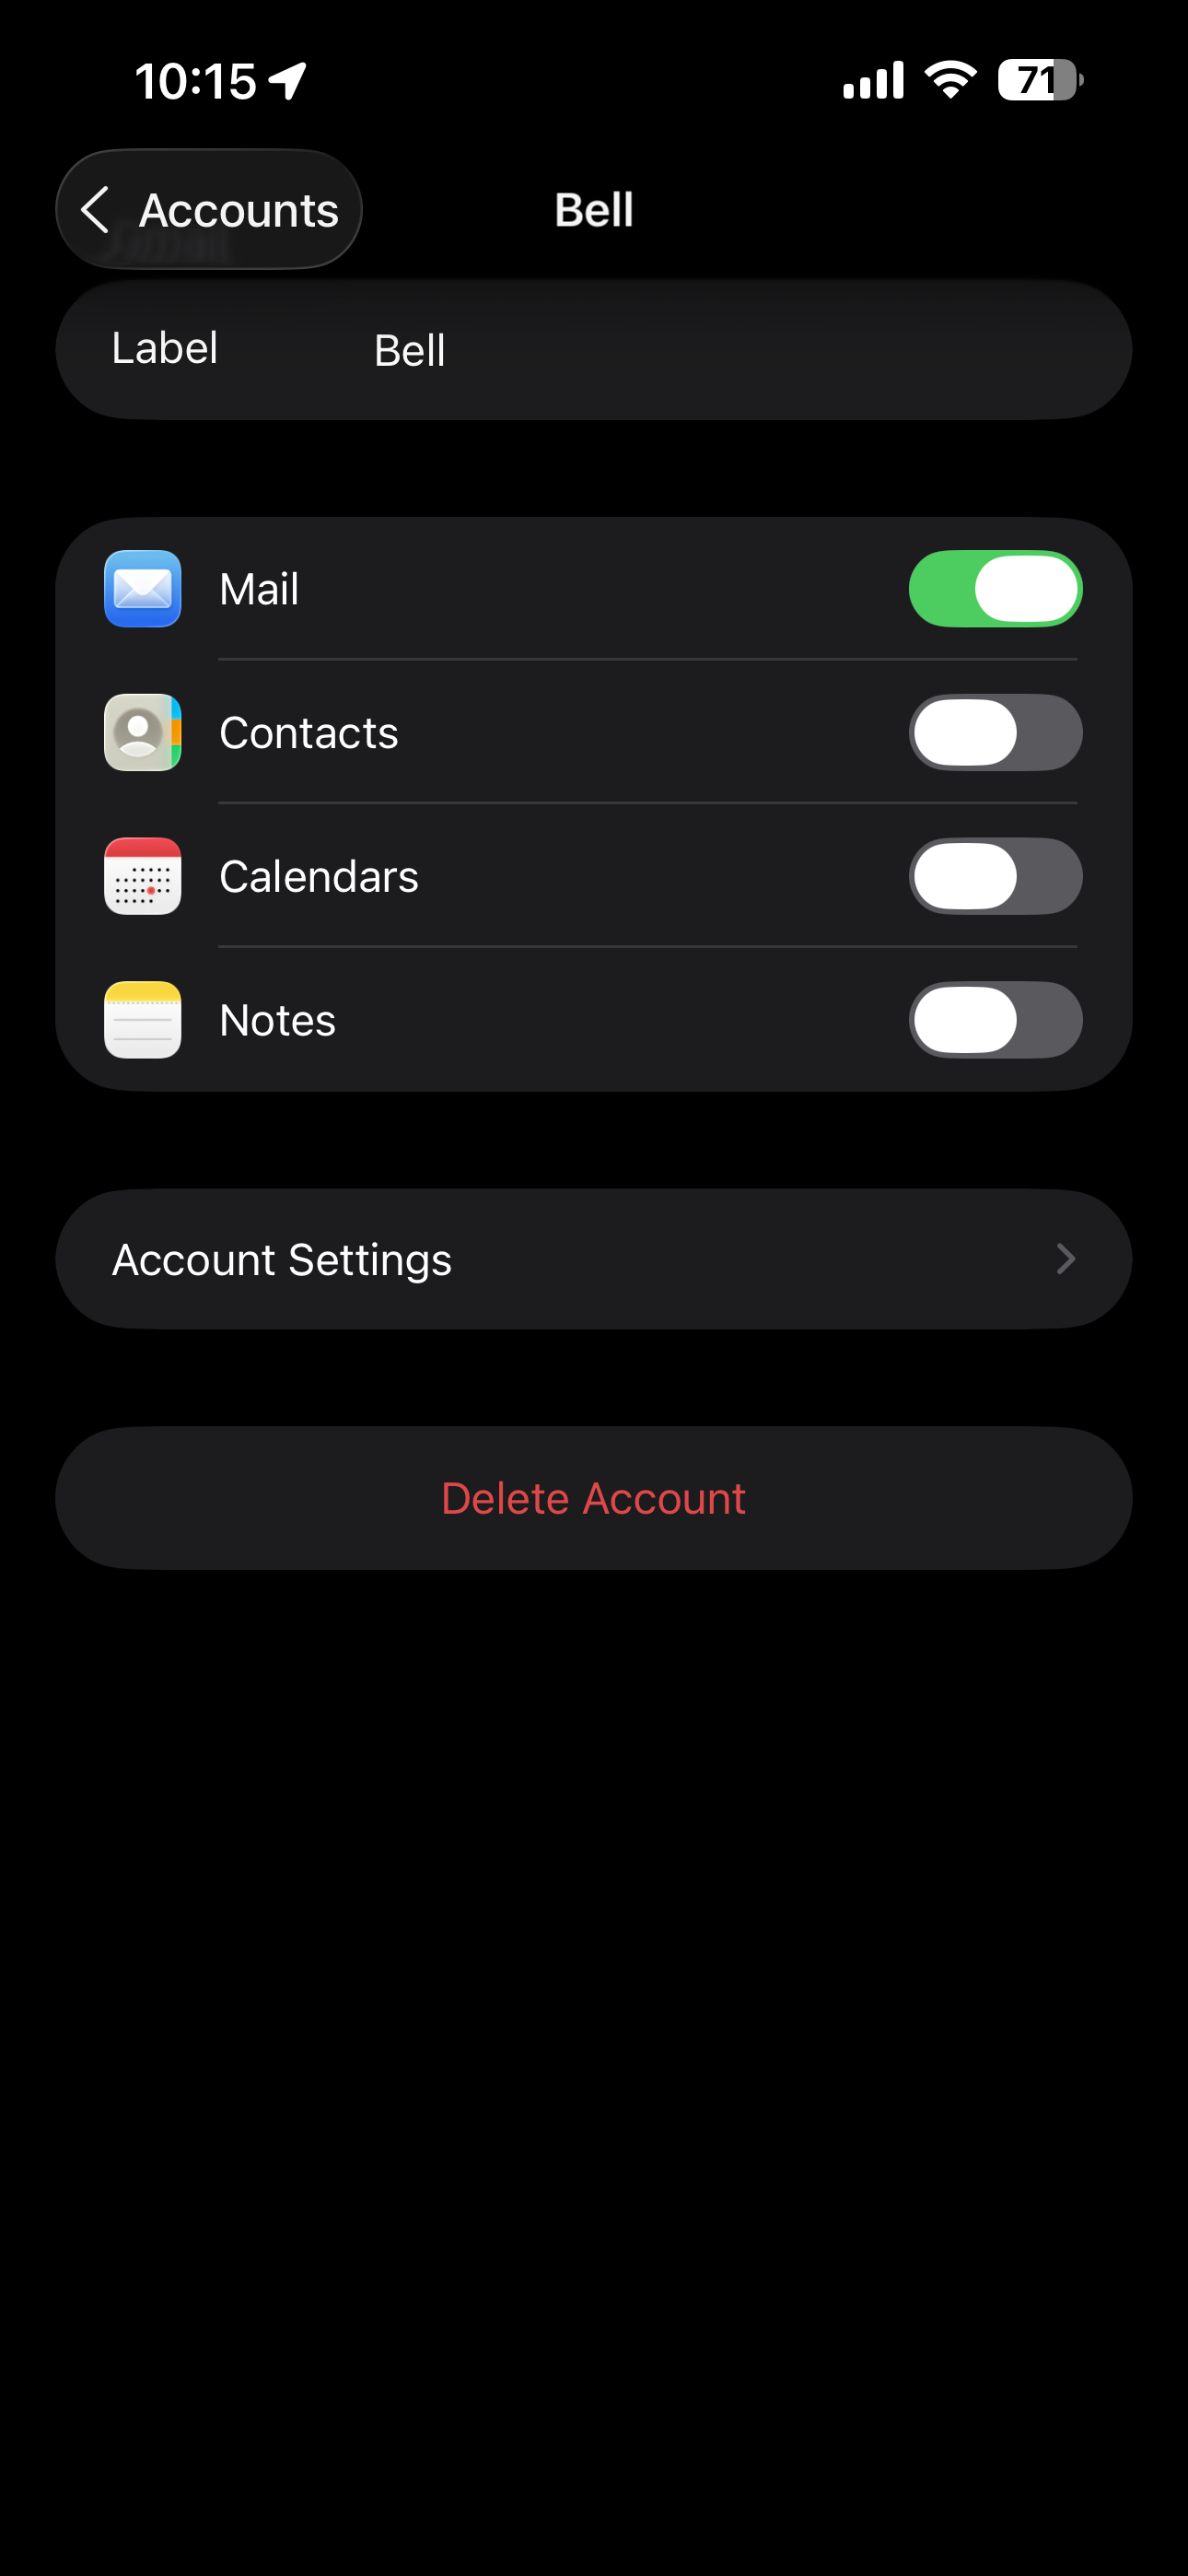
- Make sure email sync is turned on and touch Save. Your email account has been added.
Applicable to:
iPhone 11, 11 Pro, 11 Pro Max, 12, 12 Pro, 12 Mini, 12 Pro Max, 13, 13 Pro, 13 Mini, 13 Pro Max, 14, 14 Plus, 14 Pro, 14 Pro Max, 15, 15 Plus, 15 Pro, 15 Pro Max, 16, 16 Plus, 16 Pro, 16 Pro Max, 17, 17 Pro, 17 Pro Max, Air.
