How to configure the guest Wi-Fi network on my Home Hub 2000 modem
Step 1 of 8
Open a web browser.
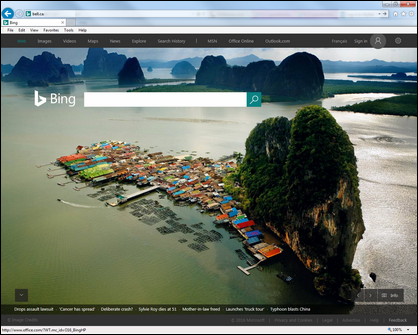
Step 2 of 8
Enter the following in the address bar:
- When connected to the Internet, enter “ bell.ca/mymodem ”.
- If you’re not connected, enter “ 192.168.2.1 ”.
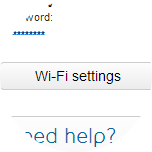
Step 3 of 8
Click on the Wi-Fi settings button.

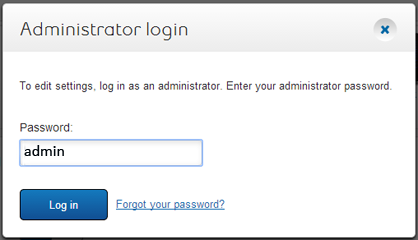
Step 4 of 8
If prompted, enter the administrator password. Unless you have changed it, the default password is the serial number located on the sticker on the back of the modem.
Step 5 of 8
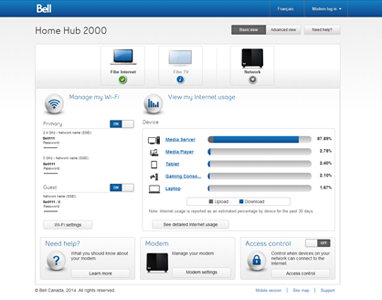
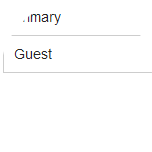
Go to the Guest tab.
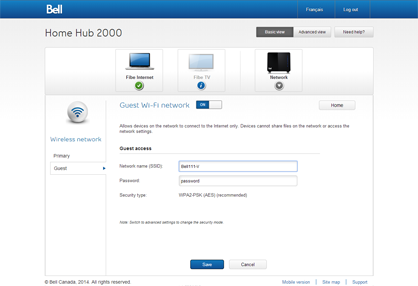
Step 6 of 8
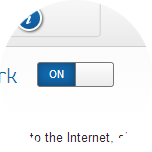
Ensure the Guest Wi-Fi network is set to the ON position.
Step 7 of 8
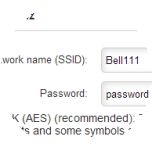
If you want, you can change the network name and password to something easier to remember.
Tip: You can add the word "guest" to the network name to distinguish it from your primary network.
Step 8 of 8
Click the Save button to save your changes.

- Open a web browser.
- Enter the following in the address bar:
- When connected to the Internet, enter “ bell.ca/mymodem ”.
- If you’re not connected, enter “ 192.168.2.1 ”.
- Click on the Wi-Fi settings button.
- If prompted, enter the administrator password. Unless you have changed it, the default password is the serial number located on the sticker on the back of the modem.
- Go to the Guest tab.
- Ensure the Guest Wi-Fi network is set to the ON position.
- If you want, you can change the network name and password to something easier to remember.
Tip: You can add the word "guest" to the network name to distinguish it from your primary network. - Click the Save button to save your changes.