How to configure the primary Wi-Fi network on my Home Hub 2000 modem (basic)
Step 1 of 9
Open a web browser.
Step 2 of 9
Enter the following in the address bar:
- When connected to the Internet, enter “ bell.ca/mymodem ”.
- If you’re not connected, enter “ 192.168.2.1 ”.
Step 3 of 9
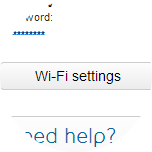
Click on the Wi-Fi settings button.

Step 4 of 9
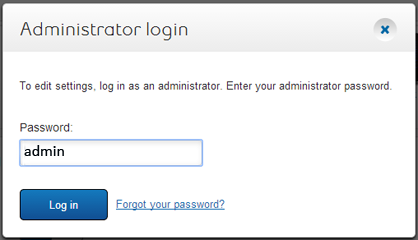
If prompted, enter the administrator password. Unless you have changed it, the default password is the serial number located on the sticker on the back of the modem.
Step 5 of 9
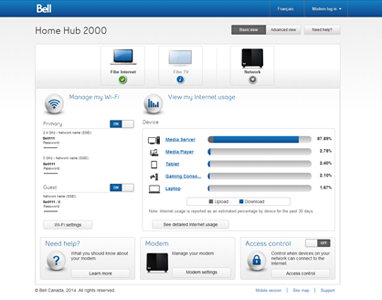
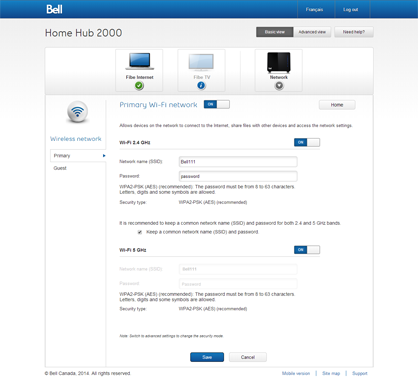
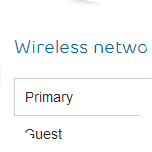
Ensure you are on the Primary tab.
Step 6 of 9
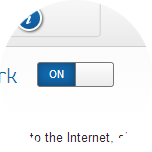
Set your Primary Wi-Fi network to the ON (or OFF) position near the top of the screen.
When the primary network is ON, you can also turn on or off the individual bands (2.4 GHz or 5 GHz).

Step 7 of 9
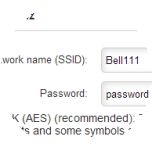
If you want, you can change the network name and password to something easier to remember.
Step 8 of 9
Ensure Keep a common network name (SSID) and password is checked, unless you were advised otherwise by a Bell technician.

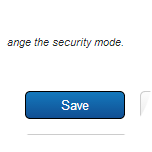
Step 9 of 9
Click the Save button to save your changes.

- Open a web browser.
- Enter the following in the address bar:
- When connected to the Internet, enter “ bell.ca/mymodem ”.
- If you’re not connected, enter “ 192.168.2.1 ”.
- Click on the Wi-Fi settings button.
- If prompted, enter the administrator password. Unless you have changed it, the default password is the serial number located on the sticker on the back of the modem.
- Ensure you are on the Primary tab.
- Set your Primary Wi-Fi network to the ON (or OFF) position near the top of the screen.
When the primary network is ON, you can also turn on or off the individual bands (2.4 GHz or 5 GHz). - If you want, you can change the network name and password to something easier to remember.
- Ensure Keep a common network name (SSID) and password is checked, unless you were advised otherwise by a Bell technician.
- Click the Save button to save your changes.